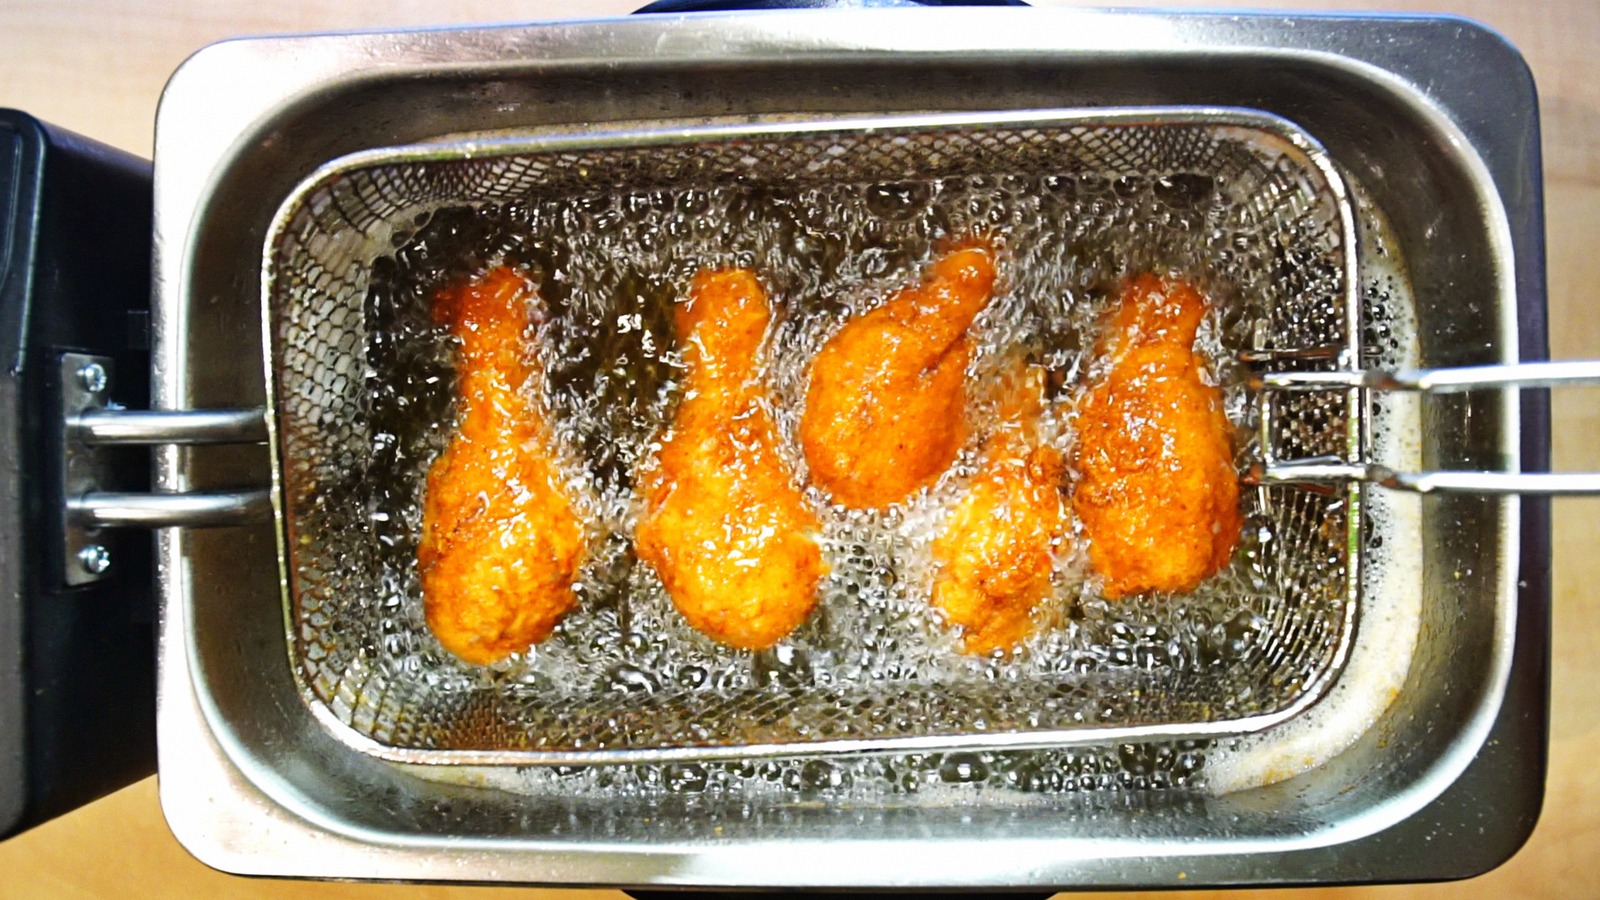
Deep frying at home can be intimidating. There’s something about standing in front of a pot of scalding-hot oil that makes even confident cooks think about how many ways things could go badly.
Using a deep fryer instead of a pot on your stove can take a lot of this stress out of the occasion. Most of them have thermostats so you won’t have to fiddle with a burner, almost all come with a well-fitted basket so it’s easier to move foods in and out of the oil, and some even have tight-fitting lids with filters to keep smells and grease confined to the fryer. That being said, deep frying well — even with an actual deep fryer — relies heavily on your technique. As a trained chef and former restaurateur, I’ve put in a lot of hours on the deep fryer. Here are a handful of the most important tips you need to deep fry successfully.
Pick the best deep fryer that fits your budget
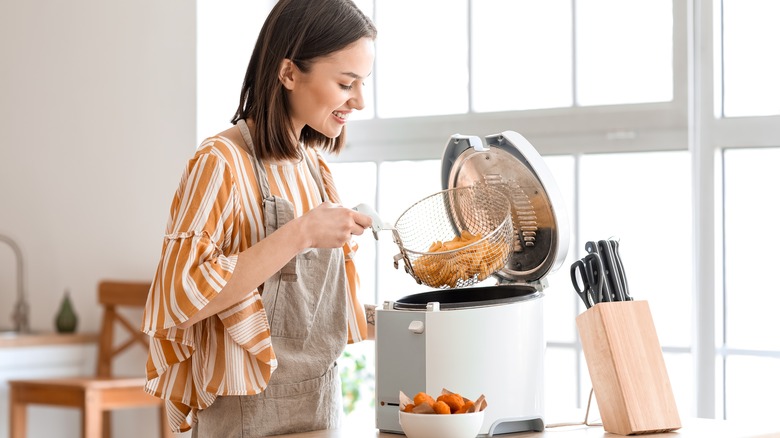
Almost every job imaginable is easier when you have the right tools to get it done. When it comes to deep frying, people differ on what that tool might be. Here in the West, we usually reach for a deep, straight-sided pot – a heavy Dutch oven is ideal – but many millions of people deep-fry in a wok, which is the exact opposite.
If deep-frying on the stovetop isn’t your idea of a good time, the logical choice is a countertop deep fryer. They won’t spatter grease around your stove and cooking area, and if your home has a gas stove, you won’t have the same risk of a flash fire. But with deep fryers, as with any other countertop appliance, some are always better than others.
“Better” is a subjective term. If you have limited storage space you’ll favor a compact fryer, for example, but if you cook for a large family, you’ll want one that holds more. As you look at deep fryer reviews to see which one seems the best for your budget, keep your own priorities in mind. Don’t just look at the rating, but review the criteria the fryers were judged on and ask whether you care about the same things. Higher power translates to faster heating, and that’s always a good thing, but otherwise, it’s a question of choosing a fryer that gives you the features you want without breaking the bank.
Learn your deep fryer’s quirks
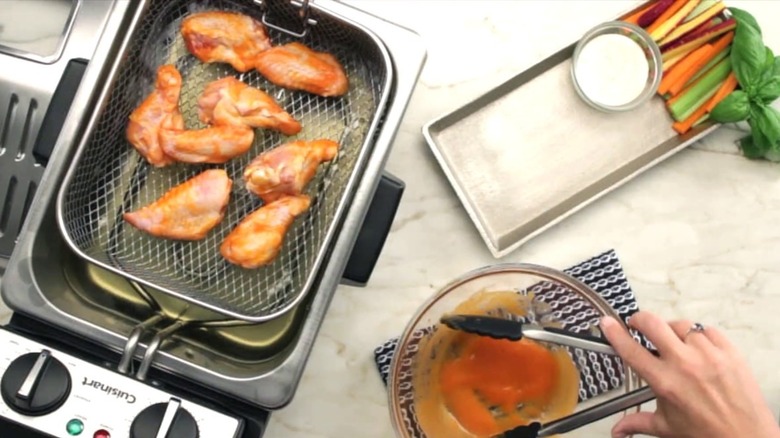
Cuisinart / YouTube
Whether you’ve just bought a deep fryer or dusted off the one that’s already in your cupboards, one important way to get the best use out of it is to understand its quirks. All fryers do essentially the same job, but each manufacturer goes about it differently (so reading the manual is a good starting point).
There are lots of things to know. One is how much oil it takes because you’ll need to know that both when you fill it and when you drain it. Another key detail is how long it takes to come up to temperature from a standing start — you’ll need to time it — because that impacts your meal planning. The slower your fryer, the more time you’ll need.
You should also check how long it takes to come back up to temperature after you’ve added food to the hot oil. Your fries may say they need three to five minutes, but if that whole time is spent at a lower temperature, they may need longer. This “recovery time” is a consideration even with the gas-fired fryers used in restaurants, and even more so with the little electric ones at home. In short, don’t plan to deep fry for your company until you’ve had a chance to figure out what your real-world cooking time will be.
Deep clean your deep fryer after every few uses
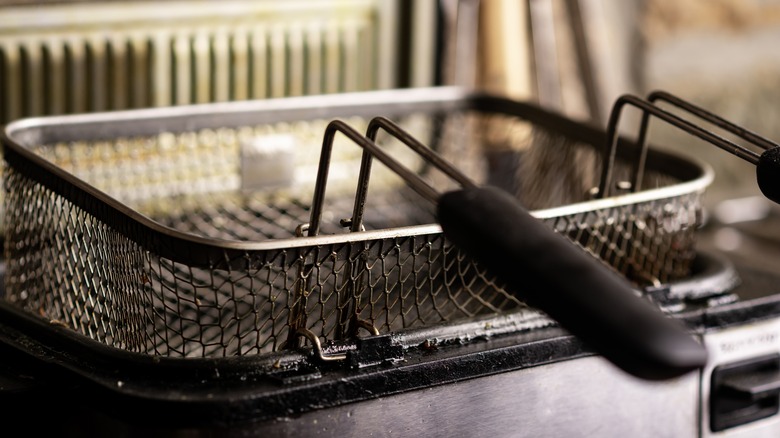
Most of us wouldn’t use a skillet or a plate that was still dirty from its last use, but, oddly, we’re sometimes okay with that where deep fryers are concerned. Often, it’s because they’re just plain challenging to clean (it’s something to think about when you’re comparison shopping), but like any piece of equipment, they work best when they’re clean and well-maintained.
A normal post-use cleaning consists of pouring off the oil once it cools (don’t do this with hot oil), wiping and scraping the frying bowl, and then — if it’s removable — putting the bowl, basket, and other pieces into the dishwasher. Often, the bowl is not removable and contains a permanent heating element or other obstructions, but that’s fine. Fill it with water and a few drops of dish soap and turn it back on, and it will boil itself clean.
Over time, you will see grease buildup or discoloration on some of the surfaces, so it’s good to do a deep cleaning after every few uses. Scrub the bowl with a heavy-duty cleaner-degreaser if it’s becoming discolored, and then rinse it thoroughly. Clean or change the filters in the lid, if your model has them, and scrub the lid itself. You may need a brush or a bamboo skewer to get into some crevices. For instructions or warnings specific to your model of the fryer, consult your owner’s manual or the manufacturer’s website.
Fill your deep fryer to the recommended level
Ahirao_photo/Getty Images
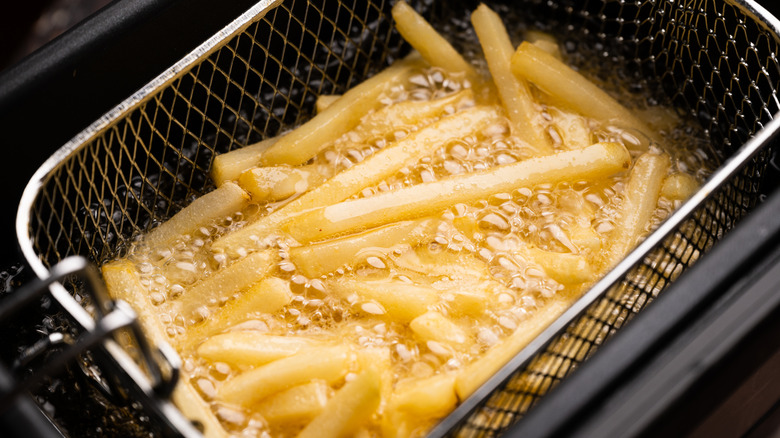
Every fryer has a predetermined oil capacity, which can be as little as a single quart for a compact model or over a gallon for larger fryers. A few models may give you the option of multiple fill levels, but for most, you’ll need to use the amount of oil specified.
It’s something you’ll need to pay attention to. A given volume of oil only has so much capacity to retain heat: If you use too little oil, cold foods will sap its temperature in a heartbeat and your foods will come out limp, pale, and soggy. If you use too much, you risk the oil bubbling over as your food cooks, or even overflowing your counter with hot fat when you drop the basket of food.
With a countertop deep fryer that’s not as catastrophic as overflowing a propane-fueled turkey fryer, but it’s still both messy and dangerous. There should be a clearly marked fill line on the inside of your fryer, but consult the manual if you don’t see one. Getting the volume of oil wrong is a common mistake, but it’s one you don’t want to make.
Use the right oil for deep frying

The deep fryers used in restaurants are often designed to work with fats that are solid at room temperature, like specially formulated shortenings or even (back in the day) beef tallow. With a few exceptions, consumer deep fryers don’t have that ability, which means you’ll use some form of oil.
Most forms of oil are okay at temperatures of up to 375 F, which is where most frying tops out, but it’s best to use a high-temperature oil because your fryer may temporarily overshoot its intended temperature when reheating. Ordinary vegetable oil is just fine, in most cases. Corn oil is often overlooked, but it’s inexpensive and can handle the heat.
Grapeseed oil and avocado oil are excellent for frying and have a neutral flavor, but they’re pricey and you’ll need a lot to fill your fryer. Canola oil is generally considered to have a neutral taste, but some find it to have a faint “fishy” flavor. Peanut oil lends a slight nuttiness to prepared foods. Olive oil is a controversial choice, widely used in the Mediterranean region but often avoided in the U.S. Overall, it’s not rocket science: A quick online search will tell you any oil’s smoke point, and your wallet will tell you which one fits your budget.
Deep fry between 350 F and 375 F
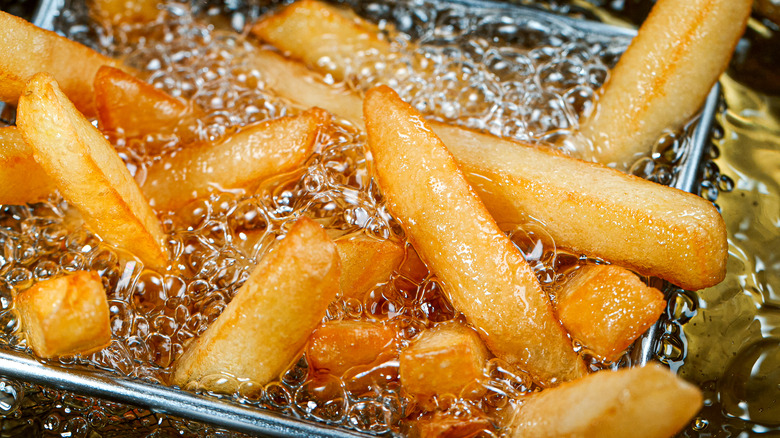
Almost all deep-fried foods cook best at temperatures between 350 F and 375 F. There are a few specific exceptions, like homemade french fries, which normally get a first cook at 300 F to 325 F and then a second cook at 375 F to make them crisp, but, otherwise, the rule holds.
Frying at the correct temperature means your foods will crisp nicely and not absorb extra oil, which is how you keep deep frying as healthy as possible. One of the key benefits of a countertop fryer is that it has a thermostat, so you can just set it and forget it, right? Uh, no. Unfortunately, the thermostats aren’t always accurate, so your fryer may hit the extremes of overshooting the correct temperature or never getting there at all.
To know for sure that you’re cooking at the right temperature, you’ll need to use a separate thermometer to verify what temperature you’re actually reaching when the thermostat says 350 F, 360 F, or 375 F. Deep-fry or candy thermometers are inexpensive, and sometimes the fancy electronic thermometer you use for meats can handle frying temperatures (check the manual to be sure). Otherwise, you may have soggy or over-cooked fries, or food that’s not cooked inside, and you’ll never know what you’ve done wrong.
Deep fry in small batches
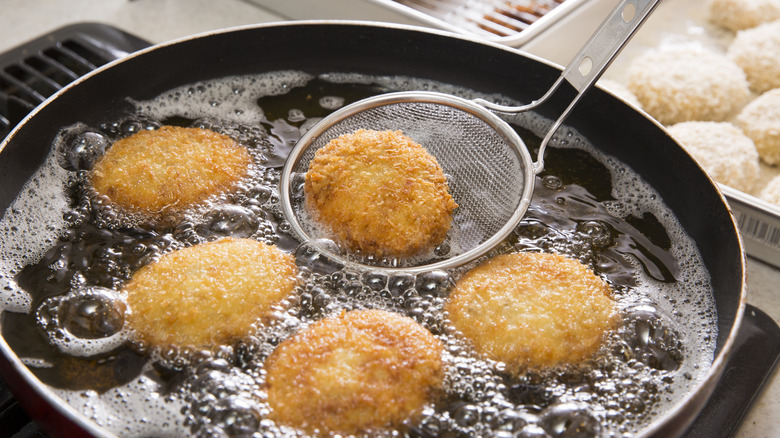
When you put food into the hot fat, it absorbs heat from the oil. That’s the whole point; it’s how deep-frying works. Unfortunately, that also means you’ll unavoidably lower the temperature of the oil.
The large capacity and powerful burners of commercial deep fryers reduce the impact of this (though chefs do still account for it), but it’s a serious problem with countertop fryers. Their relatively small heating elements are limited by the need to work on a 120-volt circuit, compared to an electric stove’s 240-volt. You can’t bend the laws of physics, so the best way you can avoid sapping too much heat from your fryer’s oil is by cooking in smaller batches.
Seriously, trying to cook too much at once is one of the biggest frying mistakes. If it takes more than three or four minutes for your fryer to come back up to temperature, cut back on the number of fries or wings you’re putting into the basket. You’ll need to cook more batches, but they’ll fry properly and be nice and crisp, instead of flabby and greasy. Each batch will be quicker, too, so in the end, you’re not losing any time and it’s easy enough to keep your food warm in a low oven until you have enough for everyone.
Pay attention to safety when deep frying
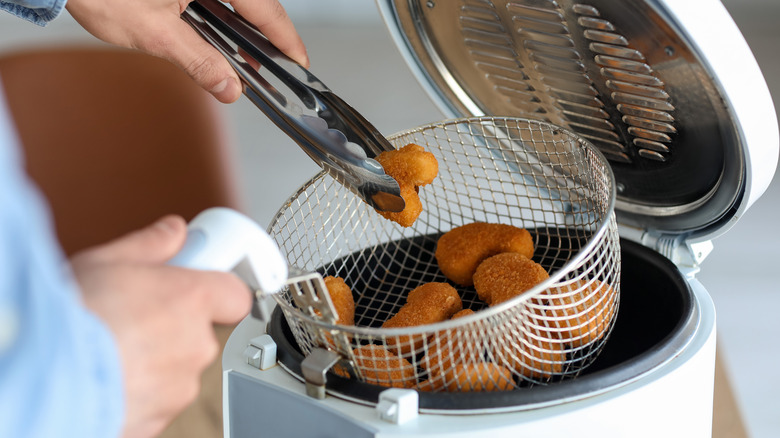
Your countertop fryer isn’t as intimidating as a big restaurant model, but it’s still a potential hazard. You could make a case that frying at home is more dangerous: Fire suppression systems are mandatory in restaurant kitchens, but you probably don’t have one at home.
A well-made home deep fryer has lots of safety features built-in — no manufacturer wants to be sued — but the onus is on you to use it safely. Never leave one unattended while it’s in use. Make sure the cord is out of reach of kids or pets, and ideally try to keep them out of the room (I have pets and grandkids, so I know that’s easier said than done). If the oil in your fryer should somehow ignite, unplug the machine and then cover it with a lid if you can do it safely. It’s always a good idea to have a fire extinguisher in your kitchen for grease fires, and they’re not especially expensive.
Aside from the risk of fire, you’ll need to avoid potential burns to yourself and others. It’s best to wear something with long sleeves to protect your forearms and to use long-handled tongs or utensils for moving food in and out of the fryer. Wet food causes fat to spatter, so dry your foods carefully, tumble frozen fries on a towel to remove surface frost, shake off any excess breading from your food, and beware of spatters from wet-battered foods.
Don’t leave the oil in your deep fryer between uses
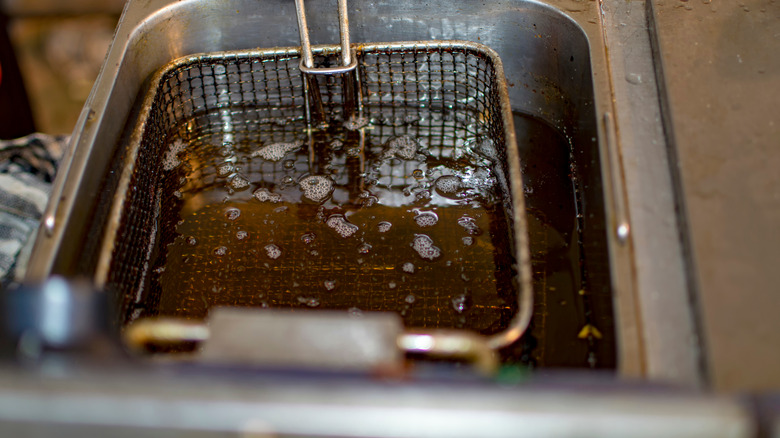
Cooking oil isn’t especially perishable as a rule, and most of us keep it in a cupboard at room temperature. If you use your deep fryer fairly often, you may acquire the habit of leaving your oil in it between uses to save the fuss of filling and draining it.
That’s a bad idea on several levels. One is that leaving dirty oil in the machine fouls its cooking surfaces, and food tastes better when your cooker is clean (otherwise I could have saved a lot of scrubbing time during my restaurant career). A second is that after the oil has been heated it becomes more perishable and susceptible to oxidation. A third — the most important — is that the small crumbs of food and batter left in the bottom of your fryer will speed that oxidation, and give the oil rancid, unpleasant flavors over time. Trust me, you don’t want that.
It’s better to drain and clean the fryer after every use. Pour the oil through a fine strainer or cheesecloth to filter it, and pour it into Mason jars for storage in your fridge until the next use. The glass jars will keep any fried food smells from invading your fridge, and protect your oil in turn from any fridge flavors. Draining your fryer is also necessary before you can clean it, which is a really good habit to get into. Your fryer will thank you.
Keep track of what you’ve deep fried in your oil

Having owned a fish-and-chip restaurant, I can affirm that the cost of oil is a big deal for small operators. It’s expensive for home cooks, too, so saving and reusing your oil is a big win on the budget front, but there’s a catch.
It’s really important to keep track of what you’ve fried in your oil because it limits how you can use it the next time. Suppose, for example, that your two favorite things to make in your fryer are onion rings and donuts. Those are not especially compatible. I can personally assure you that donuts fried in onion ring oil are not happy donuts, and I’m pretty sure that vanilla and nutmeg would be equally out of place in an onion ring or a french fry.
So, by all means, keep that oil and reuse it. But if you go back and forth between sweet and savory, it’s best to have separate batches of oil for your savory foods, like shrimp or french fries, and a separate one for your donuts and churros. If your taste buds are especially sensitive, you may even want a separate one just for fish. It’ll cost you in oil, but save you in spoiled and discarded food.
Discard your oil after three to four uses

All good things must come to an end, they say, and that’s definitely true for the oil in your fryer. Filtering and reusing it will help you keep your costs down, but there comes a time when you’ll just need to bite the bullet and replace it.
The problem is that oil breaks down in extended use. It becomes oxidized and darkens, its smoke point drops, and it begins to bring off flavors and odors to your foods. I’ve occasionally seen oil in a streetside vendor’s fryer that looked like coffee, but my nose had told me I didn’t want to eat there well before I got close enough to see the fryer. It’s not just a “tastes bad” situation; medical studies have shown that as oil breaks down, it develops compounds that can cause serious health issues, up to and including cancer.
The USDA suggests using your oil no more than three or four times or storing it for up to three months. After that, it’s time to move on to a fresh batch. Don’t pour the old oil down the drain (it’s bad for your plumbing and the environment), instead, funnel it into an empty bottle or jar and seal it tightly before discarding it. There are recycling programs available in some areas, and a quick online search (or a call to your favorite restaurant) should tell you whether you have that option.


