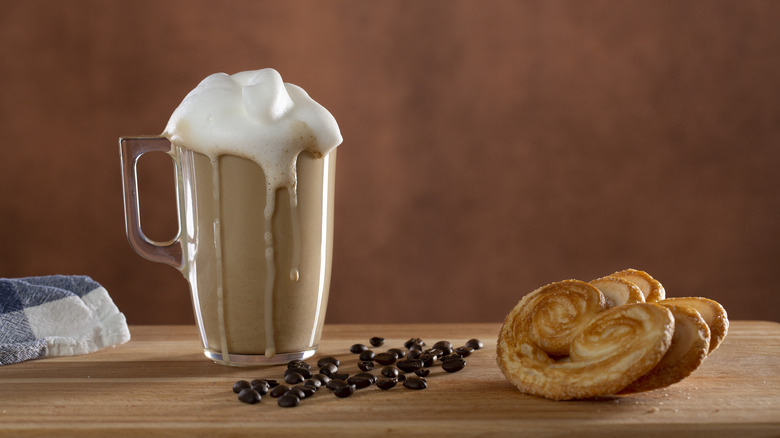
Making hot and cold foam to pour on your favorite coffee is an absolute cinch with a Nespresso frother. All you need to do is quick-press or long-press the button for two seconds on the front of the canister to respectively create velvety hot foam or a super-light cold foam.
The single button on the Nespresso Aeroccino 3 frother makes it easy to use; simply press it once if you want to make a hot foam to pour on cappuccinos and cafe lattes. The button will turn red immediately to indicate that it’s on and within 70-80 seconds the frother will produce hot milk with a layer of foam on top.
However, if you want to make a light and airy cold foam for iced coffees, the trick is to long-press that same button by holding it down for a couple more seconds. This time the button will turn blue to indicate that it’s making cold foam and the whole process will be complete in 60 seconds (you should be able to see the milk frothing up through the clear lid as the magnetic whisk at the base of the canister works its magic). You can pour up to 120 milliliters of your preferred milk in the frother to make either cold or hot foam, which means the capacity is large enough to make enough aerated froth for at least a couple of coffees, depending on how milky you like your cup of java.
The fat in the milk affects the texture of the foam

The best type of milk for homemade cold foam is skim milk because it contains less fat, resulting in a lighter froth with large air bubbles. A foam made with skim milk, versus full-fat milk, also stays afloat on top of a cold coffee for longer because it isn’t weighted down by any extra fat. However, this delicately textured foam doesn’t have the creamy consistency that whole milk brings to the table. Full-cream milk creates a lusciously thick foam that lends cappuccinos, lattes, and hot chocolate oodles of extra body. Plus, the non-stick coating on the inside of the frother makes any residue easy to rinse off.
If you’d prefer non-dairy milk, a Nespresso frother can also create hot and cold foam with almond, soy, and oat milk. The final texture of the froth will depend on the brand of non-dairy milk you prefer and any additives, such as oils and stabilizers, in the ingredients list. To make hot milk with less foam you can remove the magnetic coiled whisk at the base of the machine before turning it on.
Finally, always pour your hot or cold foam immediately into your drink once it’s ready to guarantee a creamy consistency to your beverage. The longer the milk sits in the canister, the more that the heavier milk will separate from the lighter froth.


