As the weather gets warmer, it’s time to put away your stew pots and oven casserole dishes, and start thinking about fun, delicious, summertime meals. It’s the perfect time to host a barbecue or get your friends around for an outdoor grill. This is where ribs come in. They’re hard not to love and most meat-eaters enjoy this smoky, sticky meal. They might be a favorite dish to eat out or get from your favorite barbecue joint, but there’s nothing as satisfying as making them yourself. Plus, they’re not as hard to make as people might think.
How to cook the perfect rack of ribs isn’t an overly complicated process, but there are some steps to take to get the best results. As with most things, there’s debate about marinade versus dry rub, whether to precook, or what the best way to grill ribs is. However, you can follow some simple rules of thumb in order to avoid making some easy mistakes. Plus, when you’re grilling at home, there are some differences to professional grillers and smokers, and often keeping it simple is the way to make great ribs every time. As a professional recipe developer and food business owner, I’ve made ribs countless times for clients and family. At times, I’ve had to learn from my mistakes the hard way, but I’ve also been lucky to learn from other cooks in my field on best practices. Here are some mistakes you’re making when grilling ribs and how to avoid them.
1. Forgetting to add a dry rub
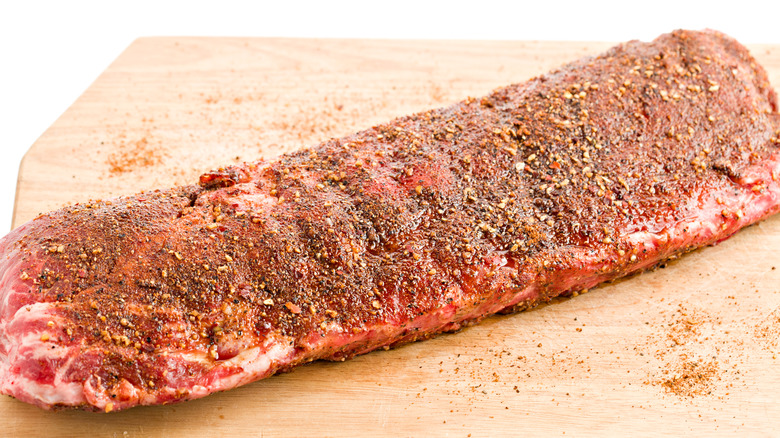
One of the big debates when it comes to grilling ribs is whether to go the route of a marinade or a dry rub. There are reasons for and against both of these, and it really depends on your preference. A dry rub is usually salt, spices, and sometimes sugar, which are then rubbed onto the meat without any lubricant added. A marinade usually involves adding oil to whatever spices and seasonings, as well as a sauce, like barbecue or sriracha, etc. There’s also a wet rub which adds liquid to your seasonings, like beer, juice, or cider, forming a paste consistency that goes over the meat.
While a marinade can add a lot of flavor and even tenderize your meat, a dry rub adds a crust that allows the flavor of the meat to shine. That’s why I favor using a dry rub over a marinade for ribs, because often people add really sweet or spicy sauces that can overpower the actual meat flavor, something a dry rub won’t do.
Another thing to remember to do is to pat your ribs dry before you cook them or before you apply your dry rub. This will not only help your rub adhere better to the meat, but it will help your ribs brown better while cooking. The dryer the surface area of the meat, the more you’re allowing the Maillard Reaction to happen, which will make your ribs much more flavorful.
2. Not allowing enough time for marinating
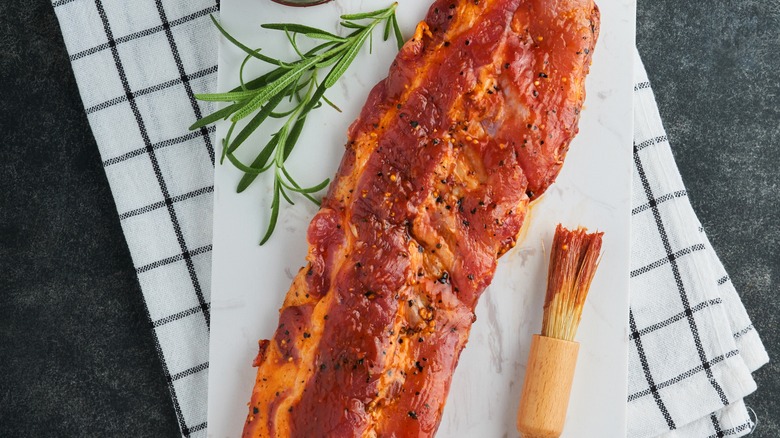
So you’ve bought your rack of ribs and you’ve gone through the effort of marinating it (whether with a dry rub or saucey marinade). Now you have to practice some patience. It may feel like an endless waiting game to get your hands on the juicy ribs when you’re itching to get cooking, but the wait is worth it. Your ribs need time to marinate and you’re not doing yourself any favors by leaving them to marinate for only an hour or two. Even if all you’re doing is seasoning your ribs with salt and pepper, it takes time for the seasonings and flavor to absorb into the meat beyond just the surface. The last thing you want is to rely on your barbecue sauce alone for giving your ribs flavor. Otherwise, why not just have barbecue sauce on anything else? Ribs are a tasty cut of meat and you want the actual meat to be well-seasoned and delicious in its own right.
You’ve got to be prepared to at least let your ribs marinate overnight to get the best results. So, the best bet is to plan ahead. If you want to be feasting on them on Saturday, you’ve got to get them covered in dry rub or marinade on Friday night (don’t forget to pat them dry first before rubbing on your spices). You’ll thank yourself later!
3. Parboiling ribs first
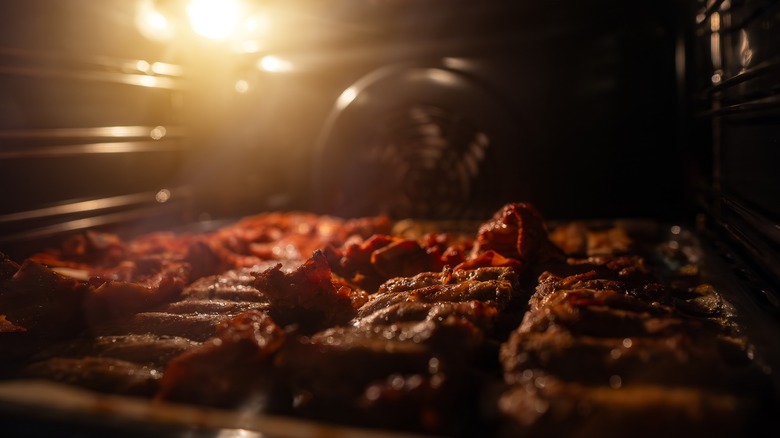
If you’re going to use a smoker or grill your ribs, it’s going to take hours to cook. You’ve got to be really committed to the process and willing to stand in the heat for the duration to them correctly. Pre-cooking them before placing them on the grill can help reduce the time you need to be standing over hot coals or wood smoke, and that’s what many people do to make the process easier.
While partial pre-cooking is an effective technique, the way you cook the ribs is really important. One of the biggest mistakes people make with ribs is to parboil them first. Most people parboil ribs first because it helps to tenderize the meat. However, boiling doesn’t allow you to impart the level of smoky flavor you may be after, and often your ribs can end up tasting like boiled meat – especially if you don’t grill or smoke them enough afterward. If you want to precook your ribs first, roasting them in the oven is a great choice, as no water has to be involved and you can still apply a dry rub to the ribs to get them well-seasoned and smoky.
4. Not removing the membrane
Candice Bell/Shutterstock
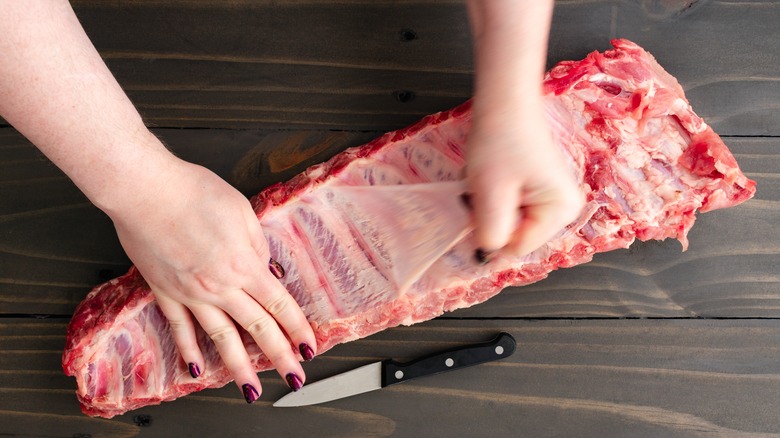
If you’ve made ribs before, you probably know about the membrane (called the peritoneum), which runs along the underside of the rib rack. There’s debate about whether to keep this membrane attached while cooking or whether to remove it. Keeping the membrane on will keep your rack held together firmly, and some people prefer to keep it that way. The downside to keeping it on is that it makes the ribs tougher to eat. It doesn’t break down and become soft with cooking the way other connective tissues like cartilage and tendons do. So unless you’re prepared to chew through something almost unbreakable, cut it off.
Keeping the membrane also blocks the seasonings from reaching the meat. So when you’re adding your marinade or dry rub to your rack, it’s going on the membrane, which you’re not going to eat. This is going to prevent your ribs from being as flavorful as they have the potential to be. Plus, you don’t want to be chewing on the membrane and having to spit it out when you’re dining.
You can remove the membrane yourself if you have a sharp paring knife and some know-how, but the best thing you can do is ask your butcher to cut it off for you. They will gladly oblige, and they can also trim the ribs of extra thick fat or any unwanted bits too if you want them to.
5. Taking ribs from the fridge straight to the grill
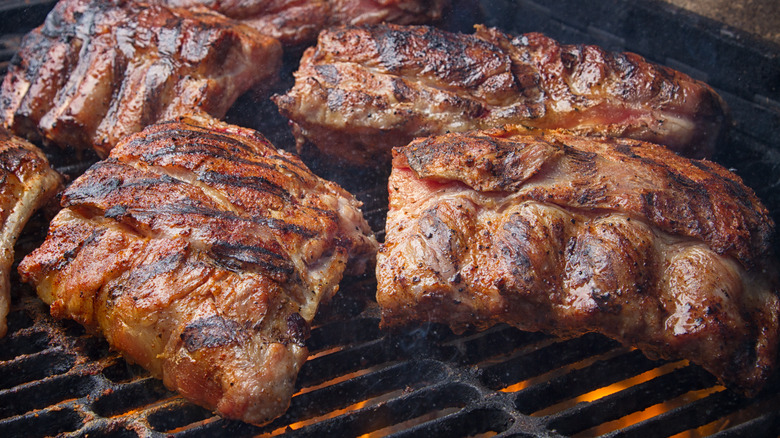
It’s a common mistake that we all make when we cook any type of meat. Take it straight out from the fridge just as you’re about to cook it. Sometimes, we even get the pan, oven, or griller nice and hot to then grab our cut of meat out of the fridge and place it straight on the heat. This isn’t a good idea to do with any meat, but especially with ribs, which are trickier to cook, this is a bad idea and will lead to uneven cooking. The outside will cook faster than the inside and you can have the potential of drying out the meat or even tougher meat.
The best thing you can do is take your rack out of the fridge for about 30 minutes before you’re ready to cook them. This way, you’ll get them to (or close to) room temperature first and it won’t be such a drastic temperature shock from cold to hot.
6. Forgoing an acid
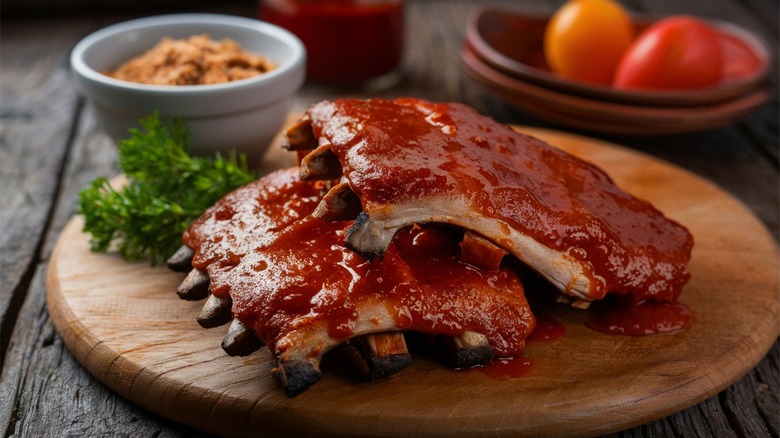
Sometimes you think you’ve done everything right with your ribs, but they still end up coming out a little tough. It happens with this cut of meat that can be on the tougher side if one or two elements aren’t working the way you intended. Don’t despair; there’s an easy fix for this. Using an acid is a sure way to prevent dry meat. It works by tenderizing the meat as it cooks, breaking down the tougher fibers. For flavor, using vinegar is a great choice, and one that many cooks know to do with other cuts of meat like pork belly but don’t do with rib. This vinegar trick can help moisten your ribs with no extra effort.
Simply add some vinegar to your basting juice or marinade and slather it across your ribs. If you’re cooking your ribs wrapped in foil, then you can even mix some vinegar into your barbecue sauce or whatever sauce you’re cooking your ribs with. An obvious choice of vinegar is apple cider vinegar, as the flavor of apple and pork goes well together. However, apple cider vinegar goes well with other types of meat and introduces a fruity acidity without being overpowering.
7. Having your heat too high
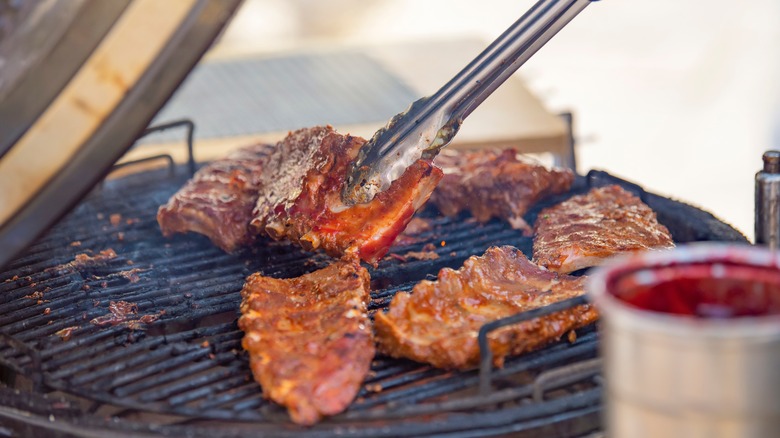
One of the most common ways that people dry out their ribs is by applying too much heat when cooking. Heat that’s too high can make your ribs overcook quickly and toughen, which is the opposite of the desired result of tender, juicy ribs. With any rack of ribs, the secret is always low and slow. You have to practice patience and not be tempted to turn the heat up to cook faster; you need to let it take its time to develop the perfect flavor and texture for the connective tissue to break down and the meat to slowly cook. Always keep your grill, oven, or smoker at medium heat.
Another risk with cooking with high heat is if your marinade or dry rub has sugar in it, or if you’re using barbecue sauce, it will burn much faster if your heat is too high. Of course, there are techniques for cooking ribs fast at high heat and you’ll find some recipes that call for that. However, if you’re not an expert at cooking ribs that way, it’s a risk and it can all go wrong if you don’t know exactly what you’re doing. Low and slow is always your best bet and is the more forgiving way of making ribs, as little can go wrong. Plus, you can always turn up the heat for the last 5 to 10 minutes to get a nice char to finish.
8. Not wrapping the ribs in foil for at least part of the cooking
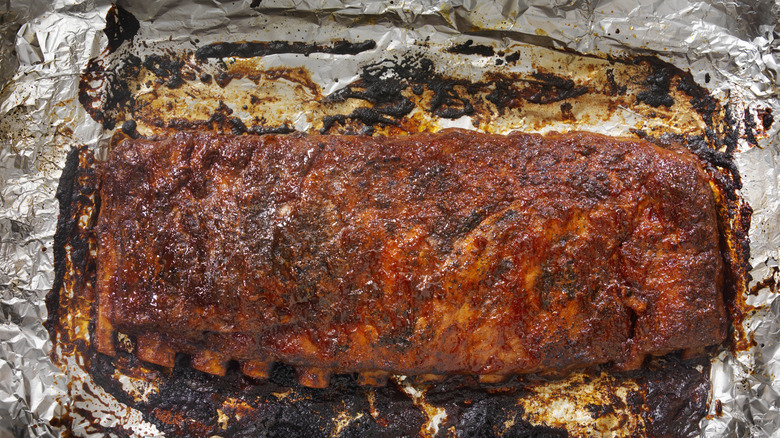
With any meat that cooks for a long time on low heat, there is a risk of the outside drying out if not well insulated or basted. Because you’re likely cooking your ribs for a longer time than two hours, they’ll benefit from being wrapped in aluminum foil for part of the time. You can do this for oven cooking or on the grill. In fact, it’s advised for grilling because you can’t always control your heat accurately while grilling, and the foil protects your meat from this unpredictability. It allows your meat to slowly cook without losing any unnecessary moisture, flavor, or tenderness. Your meat will be less tough, and have a good color on it.
To do this, you want to wrap your ribs in foil loosely so that there’s still some space for airflow. You want the steam to escape and not build up. You can also add your basting juices or marinade to your ribs before you wrap them so the flavors impart into the meat while cooking. Then, after about two hours, you can remove the foil and cook without it.
9. Treating beef and pork ribs the same
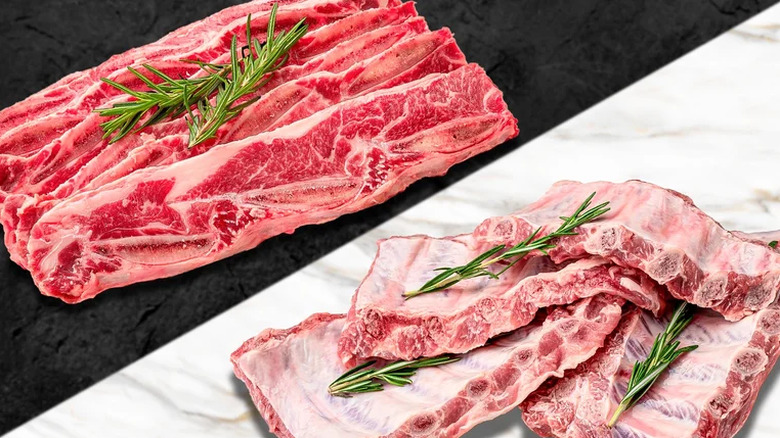
Something to always keep in mind is that not all ribs cook the same way and you can’t have one standard technique and rule for any type of ribs. Not only are there different types of ribs, but there’s also a difference whether you’re cooking beef, pork, lamb, or any other type of meat. One thing to keep in mind is the fat content of the meat you’re cooking. For example, fat is a big difference between beef and pork ribs and a mistake people often make is that they treat them the same way and may be confused why they’re not getting their desired outcome.
Contrary to what you may have assumed about pork ribs, they are actually leaner than beef ribs. Beef ribs have more fat and it’s marbled through the meat. Beef ribs are also generally larger and contain heifer pieces of meat compared to pork ribs. While both are incredibly flavorful and meaty, beef ribs will always take longer to cook because of this and it’s incredibly important to take note of this. If you’re lost on the best cooking technique and time it takes to cook a specific cut of ribs, it’s always useful to ask your butcher. It’s one of the most helpful ways to learn about meat as you shop, and they are often really knowledgeable and will guide you on best practices (on top of preparing the ribs for you, trimming anything that needs to be trimmed).
10. Adding barbecue sauce while grilling
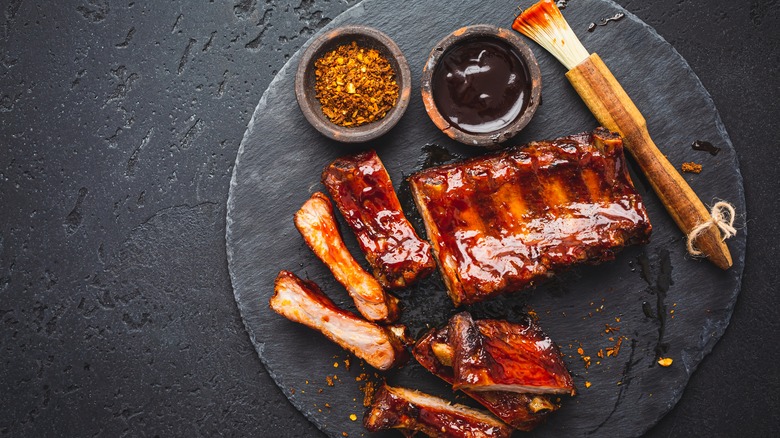
This is a rookie mistake when grilling ribs, but it’s also one of the easiest mistakes to make. It seems natural to add your barbecue sauce on your ribs while cooking so they get all that sweet, smoky flavor into the meat while it cooks. However, you’ll end up with all smoke and nothing else because they’re likely to burn before you’ve even had a chance to notice. Unfortunately, the sweeteners and sugar content of barbecue sauce leads to burning if it’s placed on direct heat for too long (which is definitely the case with ribs, which need a long time), so you need to avoid adding barbecue sauce completely while you’re grilling your ribs.
If you really want to add it while cooking, the best time to add barbecue sauce to ribs is right at the end, perhaps for the final 15 minutes or so. This way you can let your ribs develop a slight char that will add lots of flavor without giving them a chance to burn. However, you should always keep an eye on them if you do this to prevent any disappointments, especially so close to the end of your cooking. Of course, you can always just keep the barbecue sauce as a condiment to serve your ribs with and still get all the flavor of the sauce without worrying overcharring.
11. Undercutting the resting
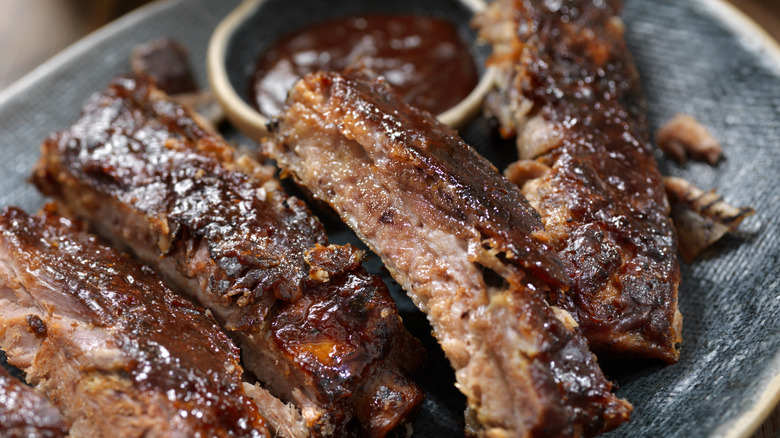
After having gone through the marinating step, letting the meat come to room temperature, then cooking your ribs for the hours it takes to achieve the perfect tenderness, you are probably salivating, hungry, and itching to take a bite as soon as you take them off the heat, (which nobody could blame you for). However, the last potential mistake you can make is not letting the ribs rest.
Yes, more waiting time is required, and yes, it will be worth the wait. Don’t worry, it’s not that long, just five to ten minutes will be enough. Letting the ribs rest allows the juices in your meat to settle. If you cut into the meat too soon, these juices will immediately run out and make your ribs a little bit dryer or tougher than you want. So, use this time to prepare your plates, cutlery, serving sauce, and maybe pour a drink. By the time you’re done, you’ll be able to dig in and enjoy the well-earned fruits of your labor.


