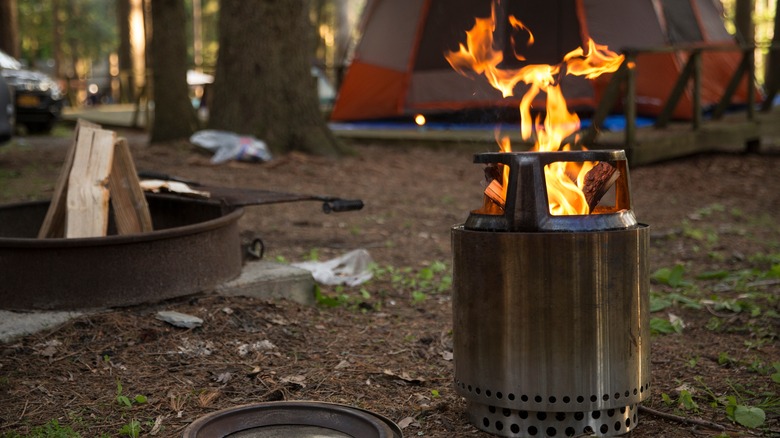
The Solo Stove has the thrill of a roaring outdoor fire, minus the smoke and unpleasant risk of traveling embers. And with its unique modern design comes the possibility of open-fire cooking, baking, and grilling literally anywhere. But you may be surprised to know just how many snacks, meals, and even desserts can be cooked over the Solo Stove — a small to medium portable campfire that can go from campsite to deck to porch party and almost everywhere in between.
You can expand your outdoor culinary horizons from the run-of-the-mill foods-on-sticks and assorted grill meats – although, we definitely aren’t throwing shade at marshmallows, burgers, or semi-burned hot dogs — with the addition of Solo Stove’s Hub piece. It puts about 8 to 12 inches between a cast iron skillet, baking sheet, grill grate, griddle, or pan and the fire. From hors d’oeuvres to desserts, we’ve rounded up some dishes you probably had no idea could be cooked on your Solo Stove.
Paella
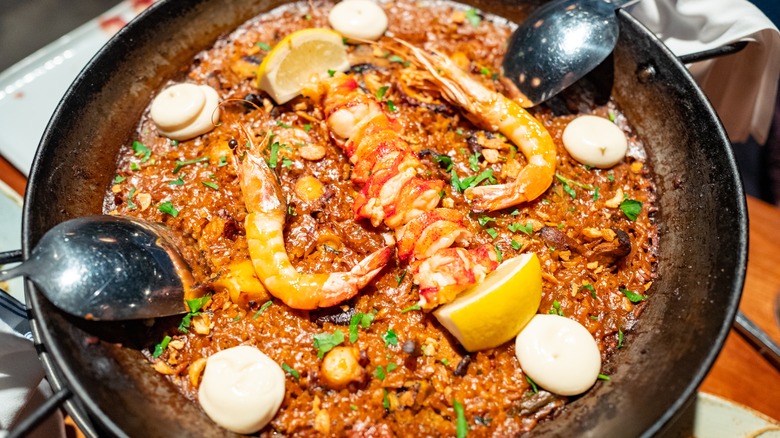
What better way to impress your guests than with the beautiful, Valencia-hailing masterpiece that is paella? The best and truest way to cook paella is over an open, outdoor fire.
Since paella is built in layers, creating this iconic dish can be done from start to finish in a classic paella pan or other large, heavy-bottomed pan with high sides (to ensure the rice doesn’t spill out). The meal lends itself to endless variations and styles — from classic seafood paella to the more Americanized versions laden with spicy Spanish chorizo, chicken, and even beef. Recipes are endless and completely customizable.
By placing a grill grate over your Solo Stove and then placing your paella pan on top, you can build your paella over your smokeless bonfire beginning with blooming saffron and ending with adding proteins. One of the biggest benefits of paella is that this dish can feed a crowd — anywhere from six to 12 people. The multi-faceted dish is filling, too, and aside from a good Spanish red wine and a hunk of crusty, fresh-baked bread, doesn’t need anything else for serving.
The best part about cooking paella on your Solo Stove? You’re going to score that perfect socarrat – the crusty, crispy rice-meets-stock-goodness on the bottom as a result of the direct-fire cooking. The caramelized and toasted rice bottom is the key to a great paella, and many purists claim that paella is not paella without this integral — and tasty — piece.
Omelets
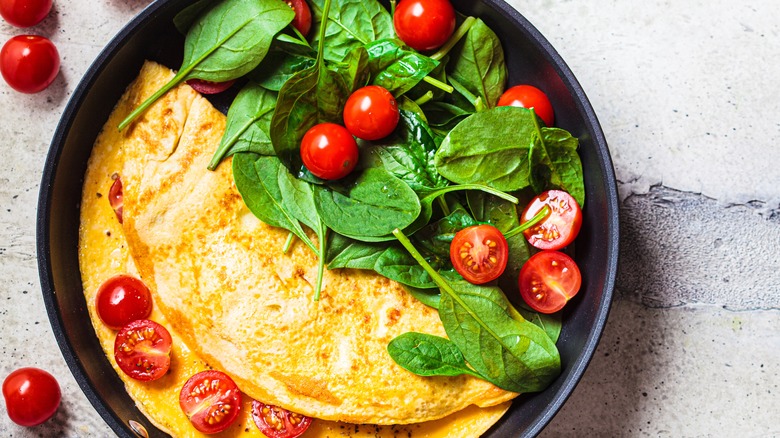
Pancakes are a frequent feature on most camp meal itineraries. Even biscuits and gravy have been known to make an appearance — but for those that crave the savory upon rolling out of bed, omelets are just as simple and, arguably, far more impressive. Move over fried eggs, over-easy, and sunny-side up.
Grease up your griddle or cast iron skillet with a good deal of butter and oil. Working with the Solo Stove hub attachment, plan to cook directly over the flame, moving the pan pretty constantly. If you need a refresher, try watching The Omelet episode of “The Bear.” A classic French omelet thrives over open fire since it needs to quickly form a crust before slowly cooking and creating that perfect, custardy center. So, really, we should have all been cooking omelets over bonfires all along.
Omelets also allow for a customizable breakfast for your guests — if you’re hosting a brunch around the fire. A few bowls of assorted cheeses like Gruyere, cheddar, and feta; breakfast meats like sausage, pork roll, and bacon; herbs, vegetables, and voilà.
Peach cobbler
Kendra Reeder/Shutterstock
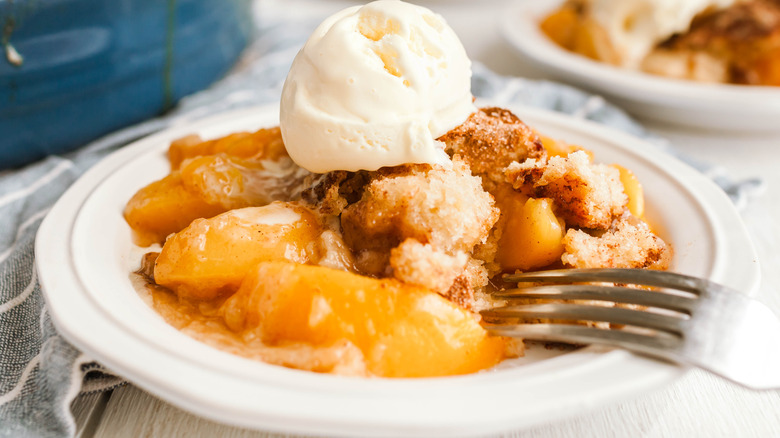
Move over, s’mores, we’re bringing fruit to the bonfire. Although many campfire desserts feature asteroid-like marshmallows and melty hot chocolate, a simple cast iron skillet, and grill grate over your Solo Stove means a classic peach cobbler is minutes away.
Peaches are a quintessential summer fruit, and their easy availability during grilling season means that these and other varieties of stone fruit have become a natural go-to for open-fire desserts. The high sugar content in peaches, too, leads to great caramelization — exactly what you’re looking for when it comes to a good, gooey cobbler with that crisp, crackable top.
In a cast iron skillet, layer in fresh, ripe, juicy peaches with a little sugar, flour, and spices of your choice. Cover with foil and place on the Solo Stove until the peaches are bubbling and hot. Remove the foil and dollop on the biscuit dough before re-covering with foil and cooking just until the biscuits are browned. You can also do this in one step if you’re pressed for time. Add a little whipped cream, or ice cream, or eat as is for a perfect summer dessert.
Nachos
Gado/Getty Images
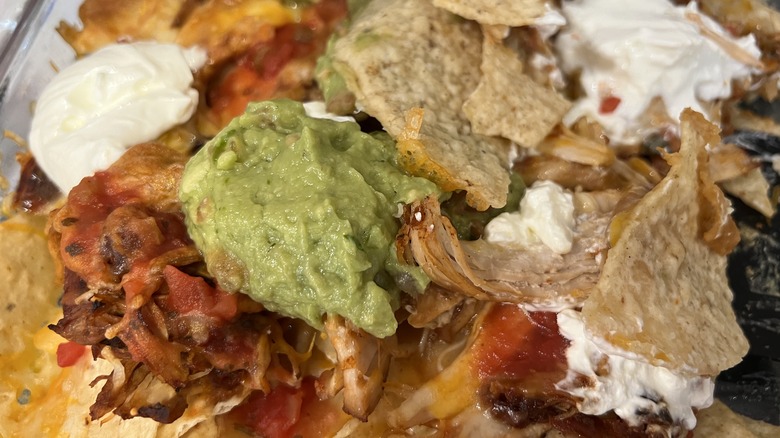
Endlessly adaptable and, as it turns out, completely doable to be made on a Solo Stove, nachos can and should be added to your smokeless bonfire cooking repertoire. Grilled nachos are best built on a packet of heavy-duty foil; not the thinner kitchen variety you’ve been covering your leftover pizza with. Packets can be assembled with layers of chips, beans, meat, and cheese before being sealed and placed directly on the Solo Stove’s added grate attachment. This will allow your cheddar, Oaxaca, or quesadilla cheese to melt, your chips to crisp up slightly, and any chorizo, rotisserie chicken, chili, and/or beans to heat evenly.
Making smaller, individual packets of nachos allows your guests to top as desired, too. Fresh guacamole, cilantro, scallions, sour cream, and pico de gallo can be served up and presented on the side so partygoers can dollop and drizzle. The only work you’ll need to do is provide the toppings. No cleanup is required.
Of course, you’re more than welcome to build in a large cast iron skillet or even on a pizza pan. Instead of individualized packets, you can lean into the communal feel of nachos.
Baked brie
Regina Foster/Shutterstock
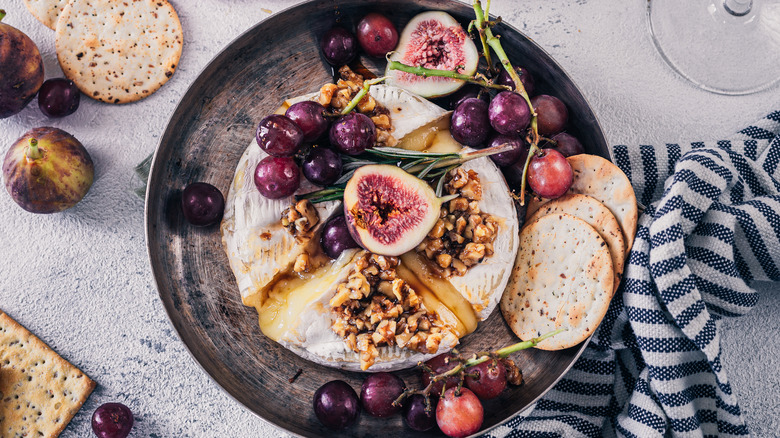
Feel fancy with a baked brie. This endlessly riffable dish works as an hors d’oeuvre or dessert — for a crowd or simply two hungry people who love melted cheese. The creamy texture and slight funkiness marry beautifully with compotes, jams, nuts, and herbs, making baked brie a safe appetizer as far as pleasing your guests is concerned.
Usually made in a baking dish or pie plate, baked brie for your Solo Stove can be created on either the accessory griddle plus the hub or in your handy cast iron skillet and a Solo Stove grate. You can even go the foil packet route if you’d like; just remember to use the heavy-duty stuff.
Toppings can run the gamut from mixtures of apricot or fig preserves, almonds, and cinnamon to brown sugar, honey, and rosemary. Spicy pepper jellies are also popular. Serve with sliced baguette, multi-grain crackers, fruit, or simple flatbreads for scooping.
Guacamole
Bloomberg/Getty Images
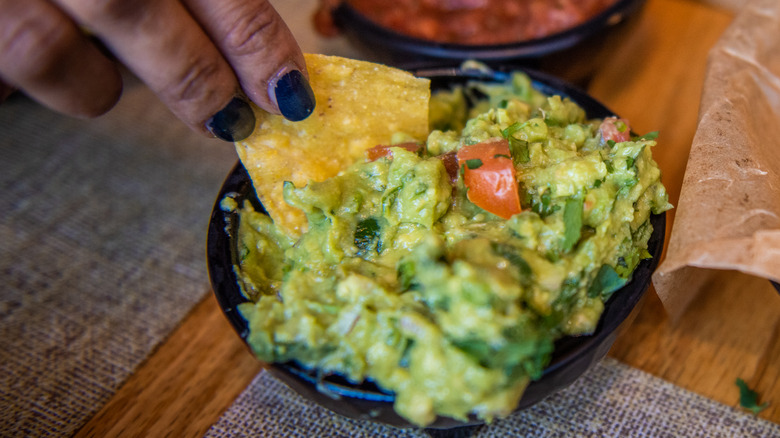
Don’t worry. We aren’t grilling or in any way heating avocado, which, in some places, seems to be an egregious wrong and punishable by heavy fines. Rather, grilling the components of your guacamole — the jalapeño peppers, onions, and spices — imparts a kiss of smoke only further elevated with traditional finishes like lime, cumin, and salt. Classically made with mashed avocado, onion, cilantro, salt, and lime juice, adding a few ingredients and grilling them on your Solo Stove ensures an approachable yet distinct variation of this beloved dip.
We recommend prepping your guacamole like a charred salsa. On a grate over your Solo, simply blacken or char your onions, jalapeños, and, if using them, tomatoes. Onions tend to become sweeter when grilled; tomatoes take on a beautiful jamminess; and jalapeños mellow in spiciness. Combining these components with the creamy avocado, crisp and herby cilantro, and bright punch of lime will result in a dip, unlike any guacamole your guests have had before. Serve with tortilla chips or as a topper for steak, chicken, or fish tacos. Bonus points if you char your flour and corn tortillas, too.
Margaritas
apolonia/Shutterstock
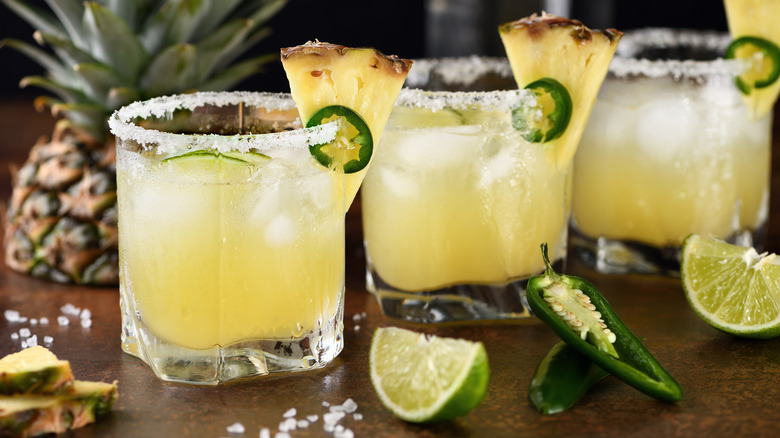
Shocking, we know, but grilling the fruit components of your margarita adds a smoky, savory twist that pairs perfectly with tequila or mezcal; and fresh fruit ranging from pineapple to watermelon to oranges, limes, and lemons all lend themselves well to easy grilling. Let’s say a pineapple margarita is on the menu for your dinner party. Instead of adding plain pineapple juice, try charring spears of pineapple on your Solo Stove grate. You’re looking for good sear marks to ensure the bit of smoke makes its way into your cocktail. For a spicy twist, throw a jalapeño into the mix, too.
Creating the perfect margarita with your grilled fruit can happen in several ways. First, you can opt to blend your charred fruit with ice, triple sec, and tequila for a smoothie-like cocktail. Another option is juicing your grilled fruit, then combining it in a glass with your ice, tequila, and triple sec. Lastly, you can choose to simply garnish your margarita with a beautifully cross-hatched piece of fruit.
Lasagna
Maria Tebriaeva/Shutterstock
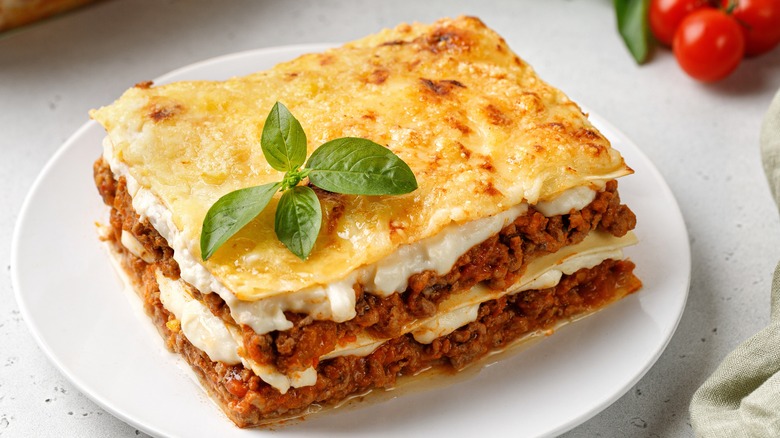
We know grandma may raise an eyebrow, but instead of working away on perfectly placed noodles, smooth ricotta, and homemade sauce, make your lasagna to feed a crowd in your trusty cast iron skillet atop your Solo Stove; perfect layers not required.
Lasagna is nothing but an exercise in prep and layering, so if all of the components of your lasagna are ready to go — sausage or ground beef cooked and crumbled, cheese shredded, ricotta mixture perfectly seasoned, marinara at the ready, and noodles of the no-bake variety — a little foil pulled tightly over your creation in a cast iron skillet means an hour to a cheesy, delightful meal.
Layer your prepped components in your cast iron skillet starting with sauce and a bit of your cooled meat or sausage; this will prevent noodles from hopelessly sticking to the bottom. Next, begin your layering of noodles, sauce, meat, and ricotta mixture, then mozzarella; repeat. Cover tightly with foil, then place directly on your Solo Stove’s grate attachment. You’ll want to check after about 45 minutes — the same as you would when cooking in a conventional oven. If the cheese is gooey and the sauce is bubbling, remove the foil and let it cook an additional 10 to 15 minutes until it’s, well, perfect.
Caesar salad
Mariha-kitchen/Getty Images
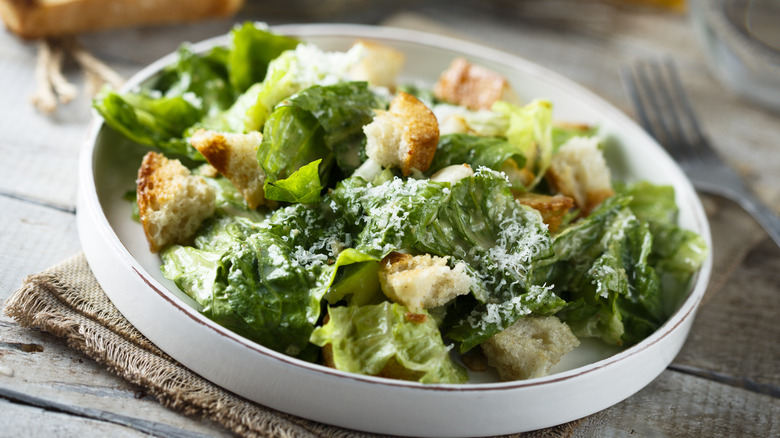
If you’ve never grilled a salad, consider this your sign. Placing delicate greens over an open flame may feel counter-intuitive and anxiety-inducing, but the sturdiness of heartier lettuces like Iceberg, Endive, Escarole, and our Caesar salad star, romaine, allows them to soak in the smoke and earn some grill marks without becoming structurally insecure or devolving into a wilted mess.
Fresh, crisp heads of romaine can be sliced lengthwise, brushed with a bit of olive oil and lemon, sprinkled with kosher salt, then placed cut side down directly on your grill grate attachment. You’re just looking for nice grill marks here, so no more than three minutes on the cut side is necessary.
The grilled romaine can be served as is on a large platter; then drizzled with lemon, Caesar dressing, and studded with Parmesan shavings and croutons. We appreciate any salad course that requires a knife, and you and your guests will appreciate the flavor nuances that just a bit of smoke can bring.
Banana splits
Bhofack2/Getty Images
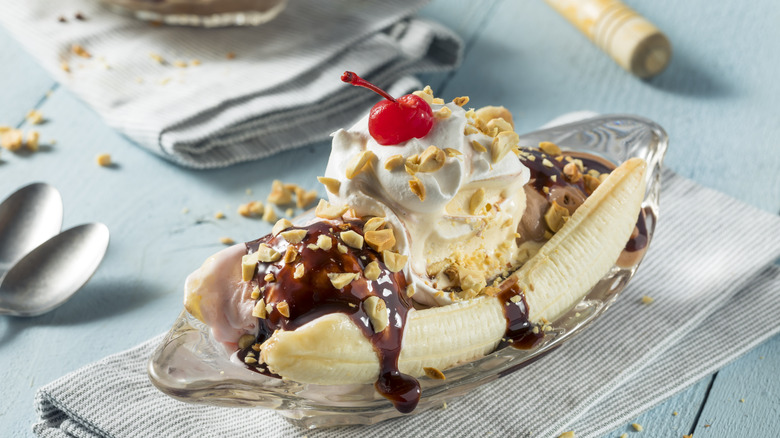
Nothing says childhood decadence quite like the classic banana split. Giant bowls featuring a banana sliced lengthwise with a scoop each of chocolate, vanilla, and strawberry ice cream; chocolate sauce, whipped cream, pineapple, strawberries, and a cherry on top are arguably the quintessential parlor dessert, enjoyed by the young and young-at-heart. We’re not trying to mess with a classic, but upgrading that plain old cold banana to a grilled one topped with brown sugar can take this standby over the top.
Heavy-duty foil packets act as both prep station and bowl here. Leaving peels on, slice the bananas lengthwise without going through the other side of the peel. Stuff in a bit of brown sugar and sliced strawberries. Seal the packets and grill directly on the grates for about 10 minutes, turning once. Carefully unwrap packets and top with the remaining split accouterments — ice cream, sprinkles, and chocolate sauce.
Clams
Thecrimsonmonkey/Getty Images
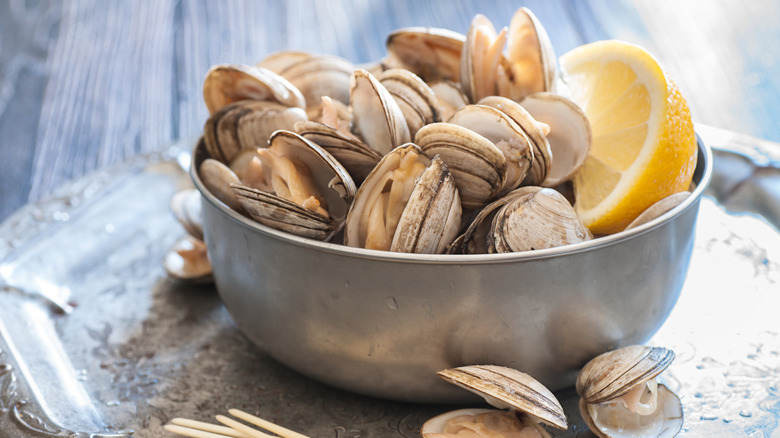
Traditionally, bunches of sweet and briny LittleNecks are steamed open in a large pot on the stove, destined for big bowls of steamers, pasta, or chowders. But placing clams individually on your Solo Stove grate results in the same, delightful seafood experience with the added smokiness that only outdoor cooking can bring.
Clams can be placed directly on your Solo Stove grate attachment or in a cast iron skillet set on top. The benefit of the skillet is that you won’t lose any of the delicious, briny juice inside each clam as they open; a risk you’ll take when cooking directly on the grate. In the skillet, you can also create a broth beneath the clams — perfect for soaking up bits of grilled bread.
If you are choosing to go with the grate method, as clams open, you — or your guests — can carefully remove them with a long pair of tongs from the grill and spritz lemon over top; enhancing the salty clam liquor within. Don’t stop at clams, either. This same technique can be used for mussels, too.
Bacon
Lauripatterson/Getty Images
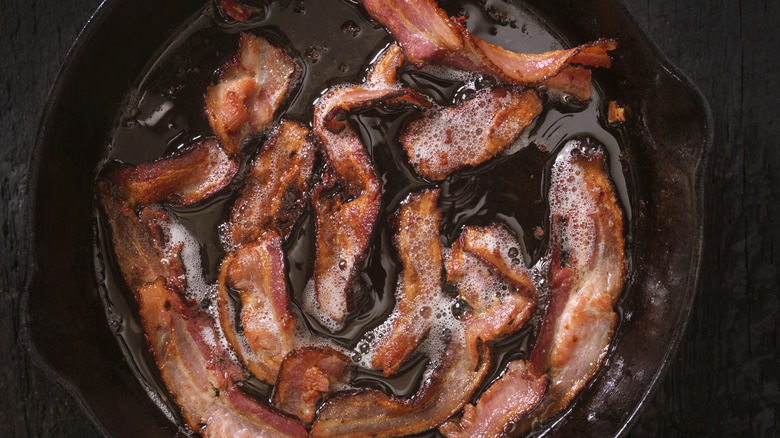
Yes, you can make bacon without cowering in a corner hiding from grease splatter. Just think: Bacon for burgers, breakfast, and more without having to wipe down your kitchen or the inside of your stove for 30 minutes afterward. There is hope. Plus, the smokiness of this classic morning side is enhanced on the grill, making it a perfect accompaniment for a cowboy breakfast flanked by eggs, toast, and grits or hash browns.
Thick-cut bacon performs best on the grill, as it’ll be easier to place, turn, and remove compared to thinner, cheaper cuts. There are also a variety of ways to cook bacon on your Solo Stove. The skillet route — placed on the added grate attachment — will be the most similar to cooking directly on your stovetop. You’ll still need to watch out for grease. A small baking sheet works, too, and will be most similar to the oven method for baking. No need to turn. Of course, you can cook directly on the grate attachment, but for the sake of cleanup, we’d opt for one of the other options.


