Before modern techniques refined wheat milling, sifting ingredients like flour helped bakers filter out chaff, seeds, and pests. Even though sifters are a holdover from the days before proper quality control, they’re still a helpful tool for bakers. Sifting is a simple way to improve texture and elevate baked goods. In some cases, it’s even a necessity. Sifters aren’t standard in modern kitchens, though, so if you find yourself faced with a recipe that requires sifting, you might wonder if you need to go out and buy one — or if you need to sift at all.
Sifting is typically used to mix, aerate, and filter ingredients like flour, powdered sugar, and cocoa powder. It makes them light, even textured, and easy to incorporate into batters and doughs. Sifting ingredients before measuring them makes measurements more accurate, and it can help you catch pests like flour weevils (tiny insects that feed and breed in flour).
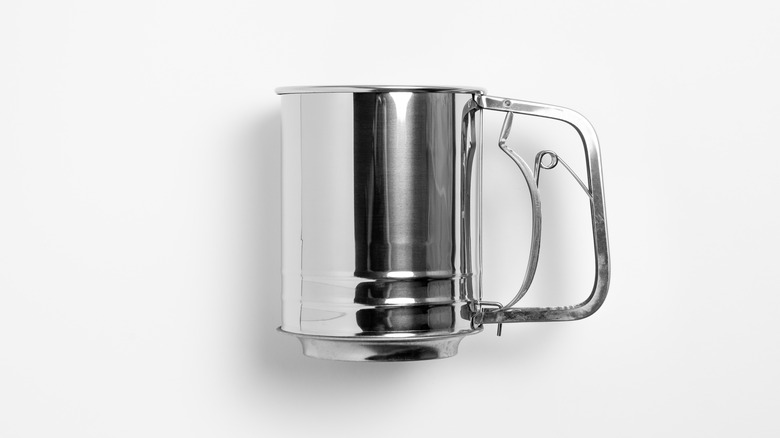
Traditional sifters look like metal mugs with a crank or lever on the handle that filter ingredients through a fine wire mesh at the bottom. They come in different shapes and sizes, though, from large-capacity flat sifters to miniature sifting wands used for dusting baked goods with powdered sugar. You can even buy electric sifters that sift ingredients for you with no effort required. While specially designed sifters are nice to have, they aren’t exactly necessities. Tools you already have in your kitchen will probably work just fine — as long as you know how to use them.
When should you sift?
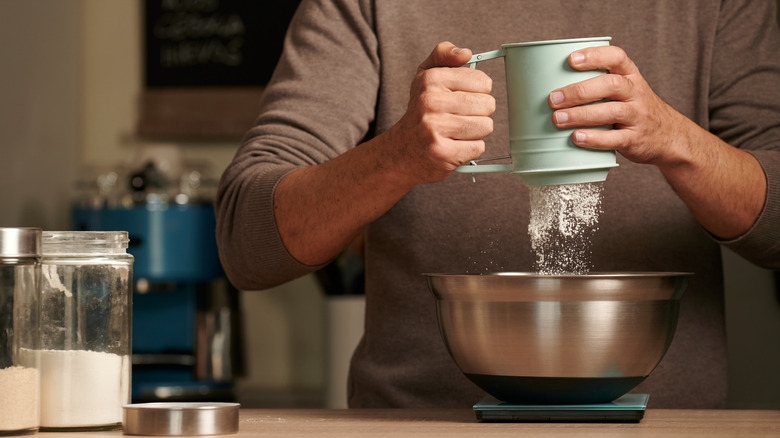
Sifting isn’t always a necessity. Whether or not you need to sift often depends on your ingredients and what you’re using them for. Almond flour usually has unevenly sized chunks, so sifting will give it a more consistent texture. It’s a good idea to sift other flour alternatives and gluten-free flours, too, since they tend to clump. Cake flour should be sifted, and the same goes for cocoa powder and powdered sugar. They tend to lump together thanks to their ultra-fine, powdery texture. Even pre-sifted flour needs to be fluffed up sometimes.
A general rule of thumb: if you’re thoroughly mixing the dough, like kneading it or running it through an electric mixer, you probably don’t need to sift the ingredients, especially if you weigh them beforehand. If the recipe asks you to gently fold the dough, though, it’s time to get sifting. Angel food cake, for example, will become unpleasant and dense if you overmix the delicate batter. That’s why it’s essential to have the dry ingredients sifted before adding them to the meringue.
Always sift when the recipe specifically tells you to. Remember that “one cup flour, sifted” and “one cup sifted flour” mean different things. “Flour, sifted” means that you should measure before sifting, and “sifted flour” means that you should measure after.
Using a fine mesh sieve
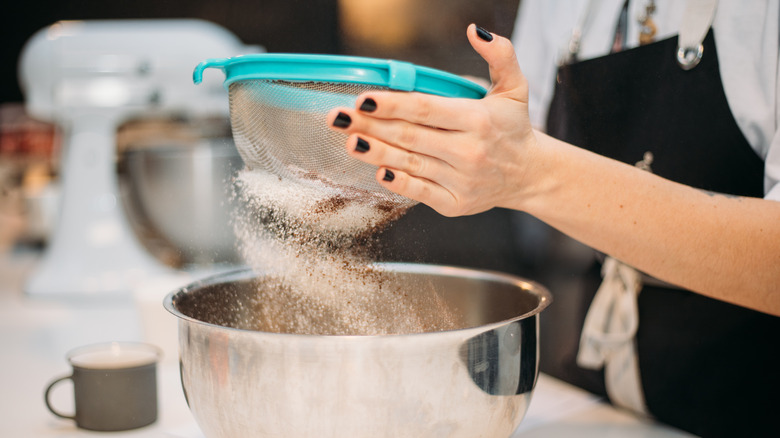
Do you have a fine mesh sieve or strainer in your kitchen? Then, you may not need a mechanical flour sifter at all. A sieve is a perfectly acceptable alternative; it’ll do just about everything a sifter does — aerate the ingredients, break up clumps, and filter out unwanted bits and lumps. Some bakers even prefer mesh strainers since they typically hold more than sifters.
To sift your ingredients, place them in a strainer over a large bowl. Shake the strainer with one hand, letting the basket bounce against the other to break up clumps and speed up the process. It’s not quite as quick as a mechanical sifter, but it will work just as well. If you don’t have a strainer available, keep hunting around your kitchen. Plenty of kitchen tools are made of mesh, so try a fryer basket, splatter guard, or skimmer if your mesh strainer is nowhere to be found. Looking for an alternative to a sifting wand? A tea infuser will get the job done. You could even use a colander: while most colanders have larger holes than standard sifters, they’ll work in a pinch.
Using a whisk or fork
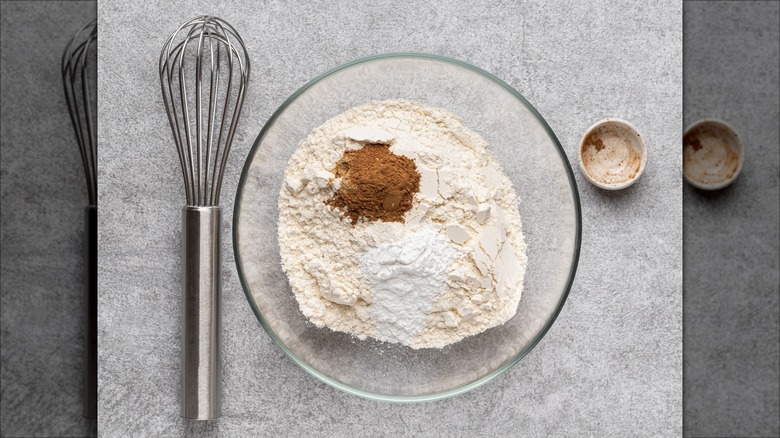
If you’re looking to aerate or combine ingredients, beating them with a balloon whisk will do the job. The tines of the whisk break down lumps and fluff the ingredients, giving them a light, airy texture. It’s the quickest and easiest method, too. If your goal is to aerate an ingredient or get an accurate measurement, you can even whisk your ingredients before taking them out of their containers.
No whisk? No problem. Even a fork will work, though it won’t fluff the ingredients quite as nicely. This method does come with a few major downsides, though. Whisks won’t necessarily break down small, stubborn clumps the way that a sieve or sifter would. Plus, you’re not filtering the ingredients through anything. That means you could end up baking unwelcome surprises in your baked goods, like clumps of dry cocoa, bits that weren’t fully pulverized in the production process, and even those weevils we mentioned.
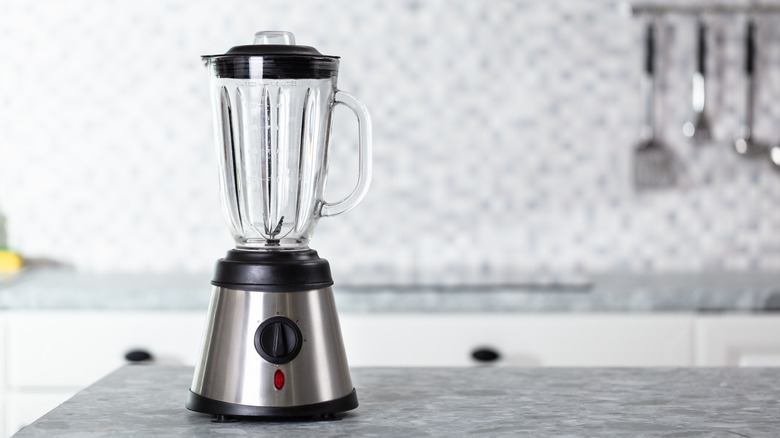
Using a blender or food processor
Andrey_Popov/Shutterstock
Blenders and food processors are cumbersome and less convenient than whisks, but they’re good alternatives to sifters or mesh sieves if the ingredients you’re using have inconsistently sized particles. Almond flour, for example, typically has a few bits that are bigger than the rest. That’s why recipes for French macarons always ask you to sift the almond flour. Forgo that critical step, and you’ll end up with lumpy cookies.
If you want to make sure that your ingredients have an even texture with no extra lumps and neither a sifter nor a sieve is available, a blender will probably be your best bet. Not only will the blades mix and aerate the ingredients, but they’ll also help break down the bigger particles and give the flour the texture you need. You could end up inadvertently packing the ingredients down, though, so you might want to go in with a whisk again afterward.


