Rolling pins come in all shapes and sizes, but there’s a reason for the variety of options. And no, it has little to do with a rolling pin’s aesthetic. Rather, the type of pin you buy can make the baking process all the easier, depending on your chosen baked good. This benefit is because different rolling pins come in different materials, lengths, and even textures that lend themselves to specific uses. When it comes to pie crusts, for instance, French rolling pins are your best bet — thanks in no small part to their ease of use and the control they allow the baker to maintain.
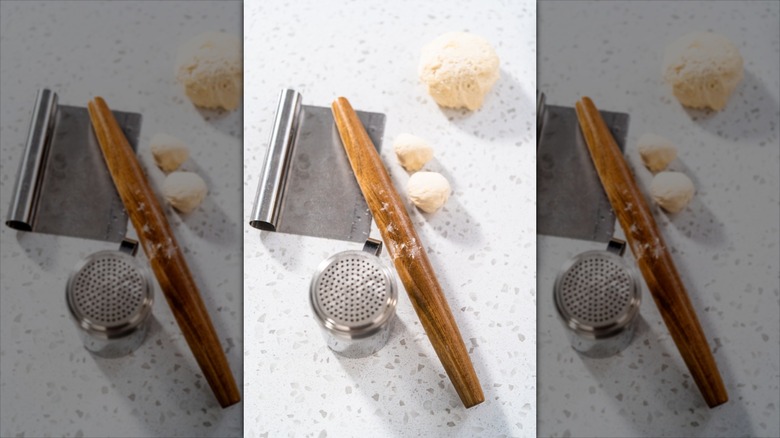
French rolling pins — as in those that lack any handles and thin out at the ends – invite a greater range of motion. Unlike pins that come with handles, the French version gives bakers more power because they can apply pressure directly to the dough, rather than on any handles. It’s therefore easier to gauge how hard you’re pressing and adjust according to what you feel. Not to mention, it means you’ll have more power, pressing directly over your dough. Such an impact is especially helpful in doughs like a pie crust, where you want a thin, even, and well-formed output.
Luckily, using a French rolling pin is as straightforward as using any other iteration. To maximize your rolling pin’s potential, start in the center and go from there.
Use a French rolling pin to flatten an even, controlled pie crust

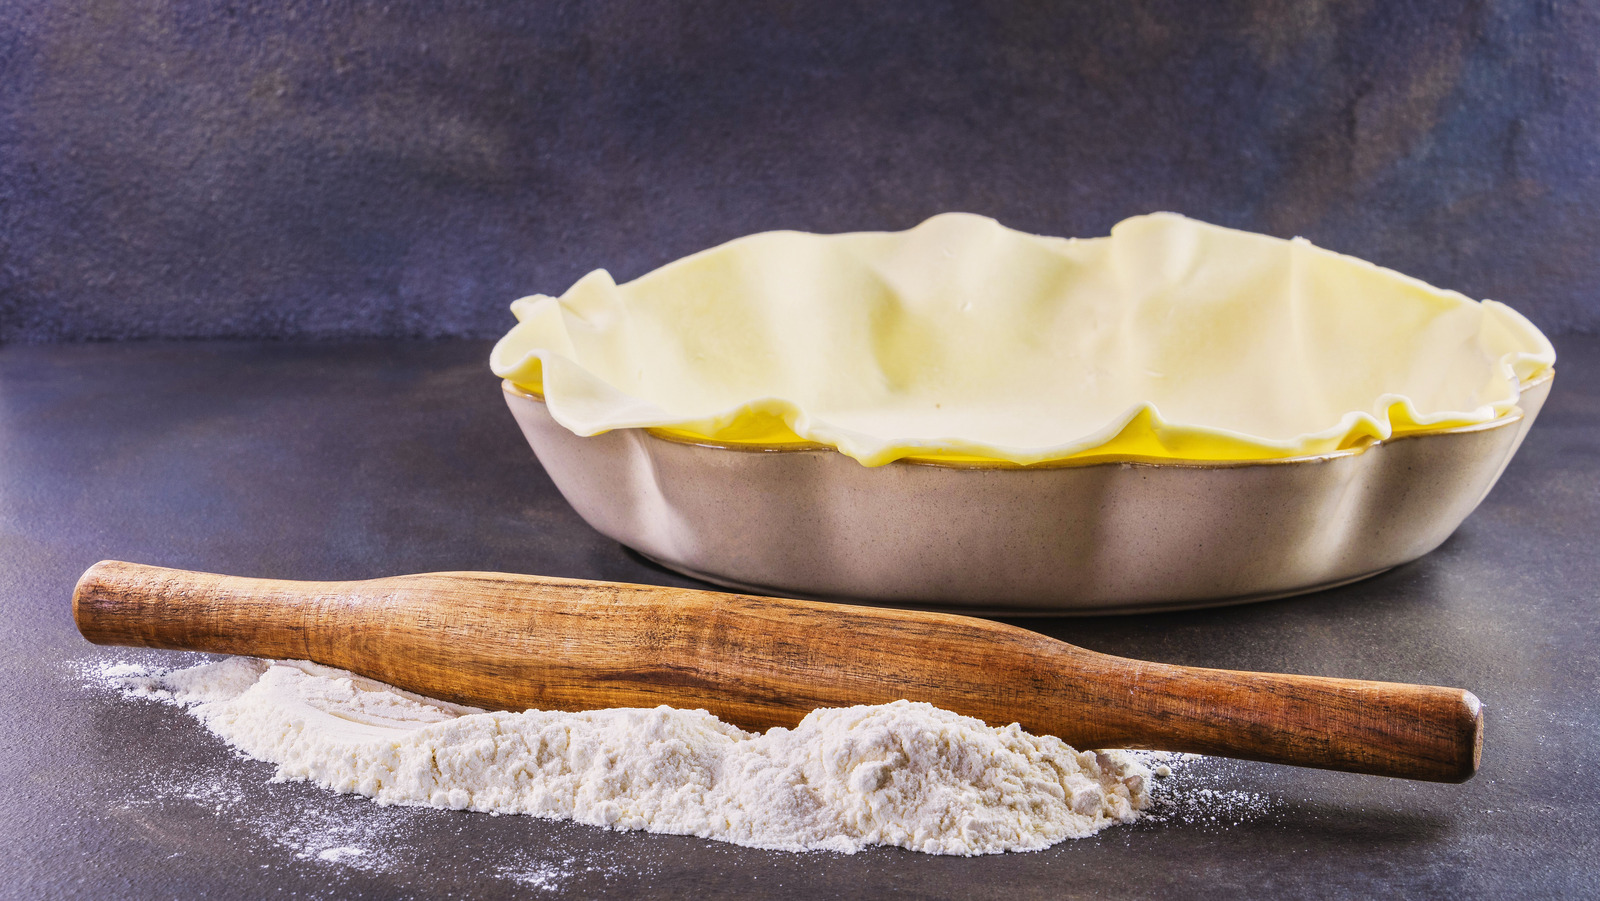
Once you have your French rolling pin — and your flaky pie crust – you should be all set to shape out your dough. Before rolling anything, however, make sure both your surface and rolling pin are covered in flour; you don’t want to ruin your nicely shaped crust by having it stick to any surface.
From there, you can reach for your French rolling pin. Generally, it’s best to begin the process in the middle of your pie crust before rolling out toward the edges. Use direct, deliberate strokes, and rotate your crust as you go. This will ensure a uniform roll on all sides. You’ll typically want to roll the pin in the direction opposite of you, and keep going until you reach your desired shape and thinness.
Because a French rolling pin is one of the easiest to use, the learning curve should be quick — and the pie crust delicious. It’s equally easy to clean and, à la Martha Stewart, looks great hanging from the kitchen shelf.


