Perhaps you struggle to get in your daily dose of fruits and veggies or are just interested in adding superfoods to your diet. If you’re looking for an easy way to give your daily routine a boost of nutrition, hydration, and deliciousness, then consider hopping on the juicing trend.
Though it’s extremely popular at the moment, juice has been all the rage for centuries — the process of juicing was documented in the Dead Sea Scrolls as early as 150 B.C. — but the trend didn’t really begin to pick up steam until the 1920s. By the 1970s, juice skyrocketed in popularity, reaching new heights in the 1990s. Although juicing your fruits and vegetables isn’t necessarily more beneficial to your health than eating them in their solid forms (in fact, it eliminates some of the necessary fiber included in whole foods), juicing can be a delicious, convenient way of adding extra nutrition to your daily routine.
We get it: Introducing a new appliance into your kitchen routine can be overwhelming. But if you want to jump on the trend, armed with these top tricks and tips for using a juicer, you’ll be making juice like a pro in no time.
1. Choose the best juicer for your needs
Before you fully step into the world of juicing, you will of course need to invest in a juicer. To determine what will be the best juicer for you, let’s consider your priorities and some key methods for juicing.
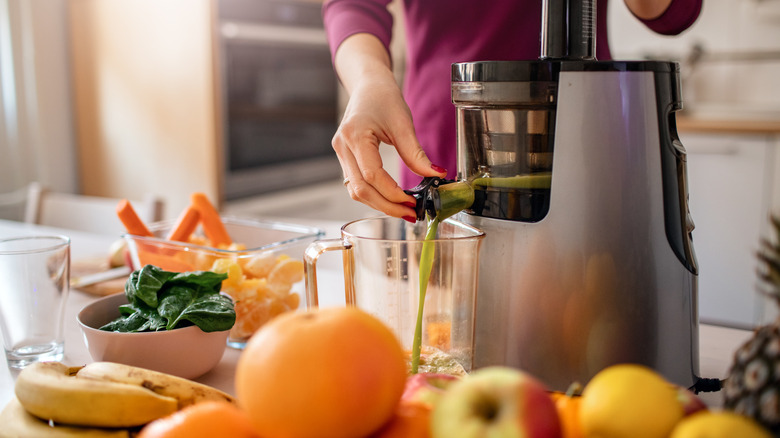
If it’s speed and convenience, a centrifugal juicer may be for you. Centrifugal juicers have a very high-speed blade and are typically best for anyone on a budget or newer to juicing. If you need a juicer that fits into your busy mornings, this may be your best bet. One downside to consider is that because of its high speed, it tends to reduce the overall juice quality. You get frothier juice that oxidizes faster, meaning it will go bad quicker.
If maximum nutritional benefit is more important to you, you may want to consider a masticating juicer, which is also known as a cold press. While these work slower, it pays to use a slow juicer when making juice. You wind up with less oxidation, meaning fresher, more high-quality and nutritious juice. These machines can be pricier than centrifugals, although they tend to get a higher yield of liquid and are also more effective when it comes to juicing leafy greens. For a full roundup of the best juicers of 2023, see our Look Awards.
2. Stick to a flavor palate
When it comes to juicing, considering all the possible fruit and vegetable combinations can definitely be overwhelming. When deciding what to incorporate into your juice, it’s best to first determine what flavor profile you’re going for. Is it sweet or tropical-fruit inspired, or earthy and herbaceous? Do you like some tartness, or maybe a little spice?
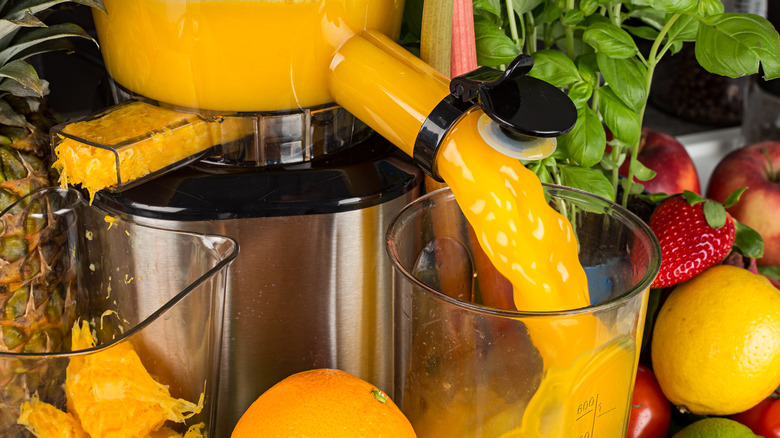
Sticking with one dominant flavor doesn’t mean every ingredient should be the exact same though. You’ll want to consider balance and how different ingredients can work together. If you’re looking to specifically get some veggies in, a classic green juice, for instance, utilizes kale and spinach, which is complemented by the sweetness of apples and pineapple, preventing the drink from veering too bitter. Too much sweetness, on the other hand, can be balanced with some acidity from lemons or limes.
Coming up with flavor combinations doesn’t have to be complicated. Using just one or two ingredients can still result in a delicious and nutritious beverage. If you’re looking for a powerful immune booster, a ginger root wellness shot uses a simple, but classic flavor combination of lemon and ginger, pairing sweetness with spice.
3. Use fruits and vegetables with high water content
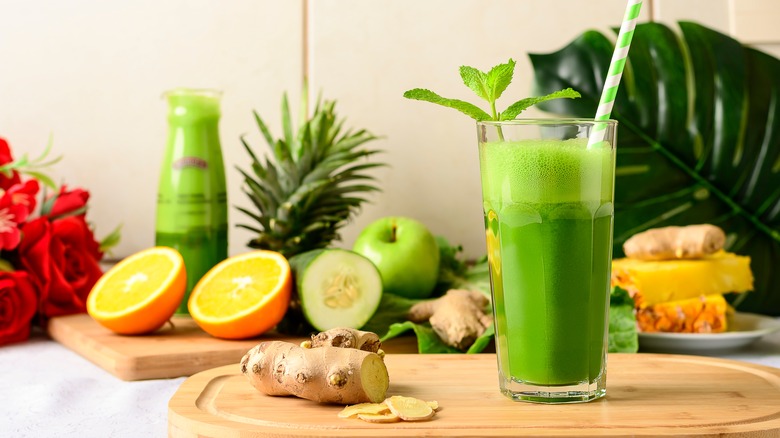
Although it can feel like the sky’s the limit when it comes to juicing, sadly not every fruit or vegetable will yield delicious results. To determine the best fruits and veggies for juicing, think about which ingredients have more water content. Ingredients like watermelon, cucumbers, citrus fruits, or apples (once the seeds are removed) are all great starting points and will ensure you end up with a thinner consistency and as much juice as possible without too much pulp.
While pineapple and melons add lots of flavorful hydration to your beverages, fruits like bananas or avocados are better reserved for your blender instead. Blenders chop up your ingredients for a thicker consistency, compared to juicers, which function by separating liquid from the pulp. Dried fruits, since they no longer have high water content, won’t work either in a juicer. Coconut water or milk could certainly be added to water it down, but coconut flesh on its own doesn’t have enough liquid content to juice well. When it comes to vegetables, most have high enough water content to qualify for juicing. Carrots, beets, cucumbers, and celery are all popular juicing vegetables.
4. Aim for the 80/20 rule
Fcafotodigital/Getty Images
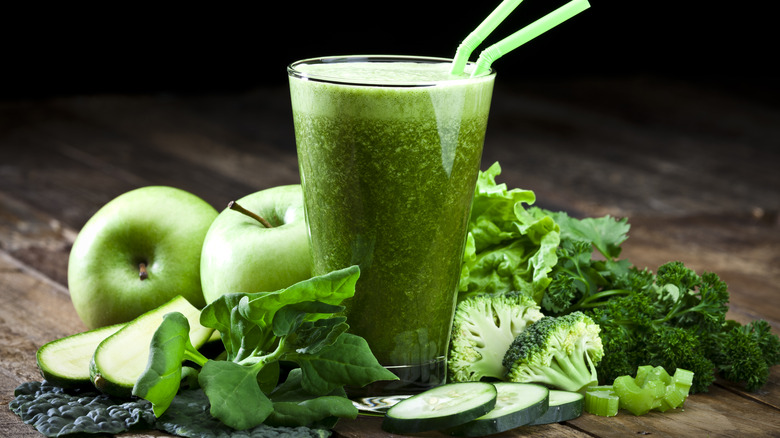
Although sugary fruit juices typically come to mind when you imagine juice, one of the biggest perks of juicing is that this technique is the perfect way to pack in your veggies. Loading up on vegetables is more than encouraged when it comes to juicing, as making your juices too fruit-heavy can lead to a spike in blood sugar. For this reason, it’s typically advised to aim for an 80% vegetable to 20% fruit ratio when making juice.
While this is more of a guideline, and you shouldn’t feel restricted to that ratio by any means, it can be helpful when considering different flavor combinations. There’s nothing wrong with enjoying a sweet fruit juice sometimes, but don’t be afraid to pack in extra leafy greens instead like spinach, kale, and cabbage, using fruit instead for a balance of flavor and a dash of sweetness. You’ll be surprised how delicious a veggie-heavy drink can taste and how the natural sweetness of vegetables can shine through in juice form.
5. Layer ingredients properly
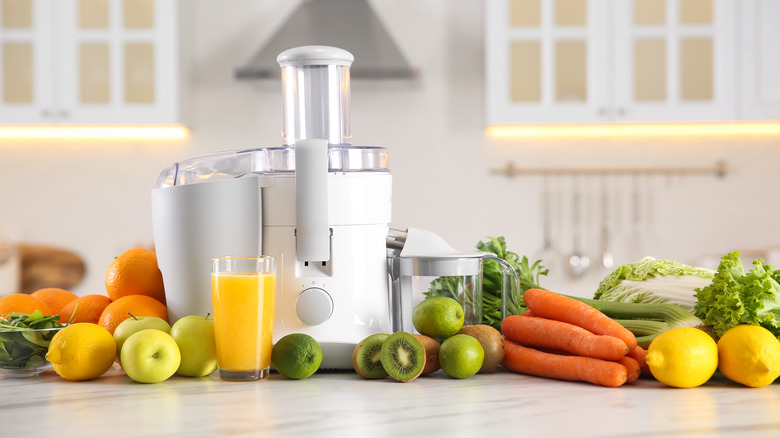
There are different strategies for layering ingredients, but a common technique is to start with any leafy greens first. These can be a little harder to juice, so incorporate your greens in a little at a time, and feel free to include any stems. These usually include extra fiber and nutrients, and your juicer shouldn’t have an issue processing these. You may have to even roll up your greens, depending on your juicer.
From there, add in additional ingredients based on hardness. Start with softer fruits like lemon or pineapple, then go on to medium-hardness items like cucumber or celery, and then end with your carrots, beets, or ginger, which all should be cut into small pieces.
Throughout this process, you’ll want to take time between each step, without overloading your juicer with too many ingredients at a time. You can also use the tamper as needed, which is a tool to press down ingredients to more effectively juice and get the best consistency. As tempting as it can be, don’t try to juice too fast or overwork your juicer. Good things take time, and this definitely applies to juice too.
6. Elevate your juice with extra flavors
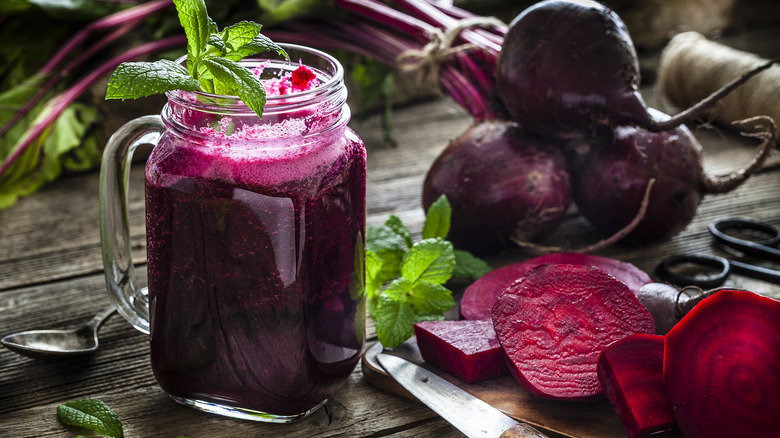
A key to successful juicing is to have fun, and don’t be afraid to add extra boosts of flavors when possible. After all, your juice is supposed to taste good, while being good for you! There are nearly endless ways to uplift your juices with extra doses of flavor, depending on what flavors you’re aiming for or what other ingredients you have on hand. Lemon or lime will add a dash of citrusy tang and acidity, while honey will add a bit of natural sweetness while enhancing the other flavors in your drink. Ginger adds spice and warmth to your juices, and if you’re finding that your juice is too bitter and veggie-filled, adding an apple can add just the right amount of subtle sweetness.
While these are the most typical juice additions, there are plenty of other possible ways to add a creative kick to your juices. Upgrade your drinks with spices like cinnamon or even cayenne, or add flavor to your freshly pressed juice with herbs like mint or basil. Not only do they take your beverages up a flavorful notch, but they can even amp up the nutritional benefits, which is always a plus.
7. Don’t go overboard
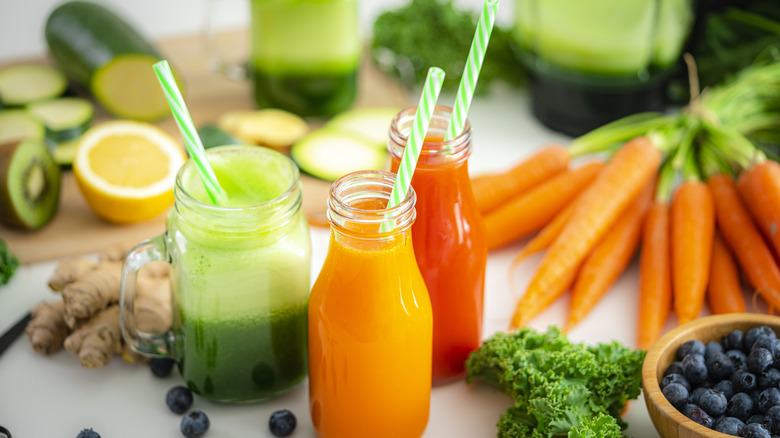
It can be easy to try to load your juice up with every fruit and veggie you have on hand. Be mindful of flavor combinations, and don’t try to overwhelm your juice with too many ingredients. It will impact the taste and possibly clog your juicer, which is something you don’t want to deal with.
It’s possible to go overboard with your ingredients or even with juice itself. When it comes to juicing, you’ll also want to be mindful of any health conditions you have that could be exacerbated by too much of a particular type of ingredient. For instance, not only can too much fruit juice result in too sweet of a drink, but this can be especially detrimental to those at risk for high blood sugar or diabetes. Overly high quantities of green juice can lead to negative health effects like kidney stones. For that reason, you don’t want to rely on juices for nutrition but instead use them as a tool to enhance your overall wellness and health.
8. Prepare your produce beforehand
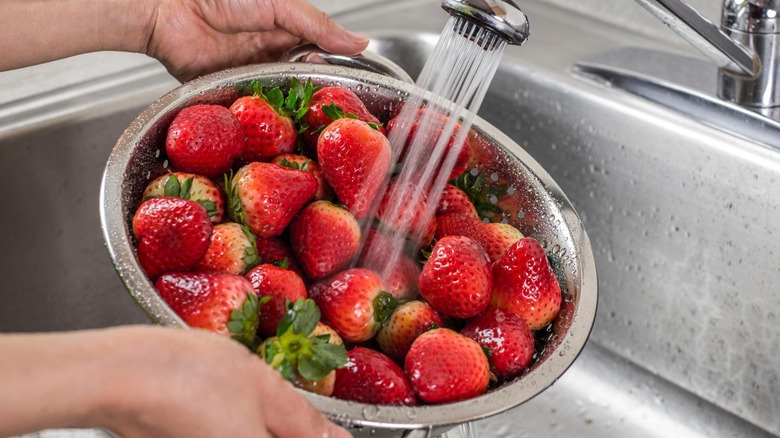
There are a few steps you’ll want to take with your fruits and veggies before you’re ready to start juicing. To make the process easier, you’ll want to prepare everything before you begin making your juice. While you can definitely use frozen fruits and veggies, don’t skip the important step of thawing everything beforehand. While a blender can withstand frozen ingredients, too much frozen fruit right out of the icebox could damage or even completely break a juicer.
For any fresh fruits or vegetables you plan to use, try chilling them for a bit in the refrigerator beforehand to prevent oxidation and keep your juice fresh for longer. Before juicing, scrub all your produce to remove any dirt or pesticides, and then remove all inedible seeds or pits. As for peels, as long as they aren’t inedible or don’t impact the flavor like with citrus fruits, you can generally leave them on. Peels typically have extra nutritional benefits as well, such as fiber, antioxidants, or vitamins, depending on the ingredient. You’ll also want to make sure all ingredients like pineapple, carrots, and beets are cut into small enough pieces to juice easily.
9. Line the bin to make cleanup easier
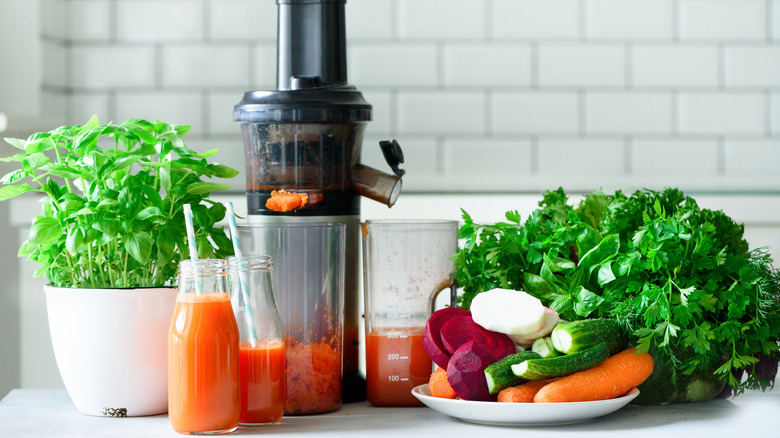
Keeping your juicer clean is super important for both increasing the longevity of your juicer and for making the process more hassle-free for you in the long run. You don’t want the resulting mess to be a deterrent to using your juicer!
The amount of pulp you wind up with can depend on the quality of your juicer, as well as how juicy the fruit or vegetable is. Regardless of what kind of juicer you use, there will always be at least some resulting pulp that doesn’t end up in your juice. This basically comprises the fiber from the fruit or vegetable, which gets removed during the juicing process.
One simple way to make your life significantly easier is by simply using a small composting bag, plastic wrap, or even a plastic grocery bag to line the bin where the pulp is collected. This makes disposing of (or utilizing!) any extra pulp extra easy.
10. Repurpose the pulp

On that note, there’s no need to throw out pulp from the juicer! Why not repurpose the pulp from your carrot juice for carrot cake or veggie burgers, or use the remains from your green juice for nutritious and flavorful green juice muffins? It can take a little creativity, but the options are endless, and you’ll find that your pulp can add extra nutrition and flavor to a variety of other dishes, from soups to pancakes or dips. Plus, it’s eco-friendly!
To ensure you keep your pulp at maximum freshness until repurposing it, after juicing, you’ll want to immediately seal your remaining pulp in an airtight container. It can be refrigerated but will only stay fresh for about a day or so, so if you’re not going to be able to use it quickly, throw it into your freezer instead. Pulp will lose some of its nutrients over time, so try not to wait too long to pop it into your morning smoothies, or use it as a base for stock, stews, or quiche.
11. Enjoy your juice immediately
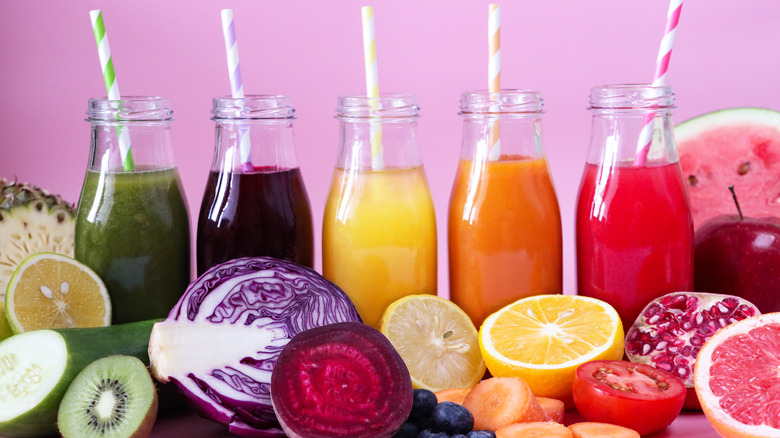
While there’s no doubt that homemade juice is the best way to pack in your nutrients for an active lifestyle, it’s important to keep in mind that you should be enjoying your juice immediately after making it. After about a day, its quality and freshness quickly goes downhill, and you will start to see effects like oxidation, separation, and even browning take place. Its nutritional benefits, as well as its flavor, starts to diminish, and after a couple of days, you can even get bacterial growth or fermentation.
If you do need to save it for later in the day, the best way to store freshly juiced drinks is in an airtight glass container. If you won’t be able to drink it within a day, you can also always freeze your juice. Just be sure to leave some room at the top of the jar for any expansion, and keep in mind that the juice may separate over time, so you’ll have to shake it before drinking.
12. Clean your juicer right after using
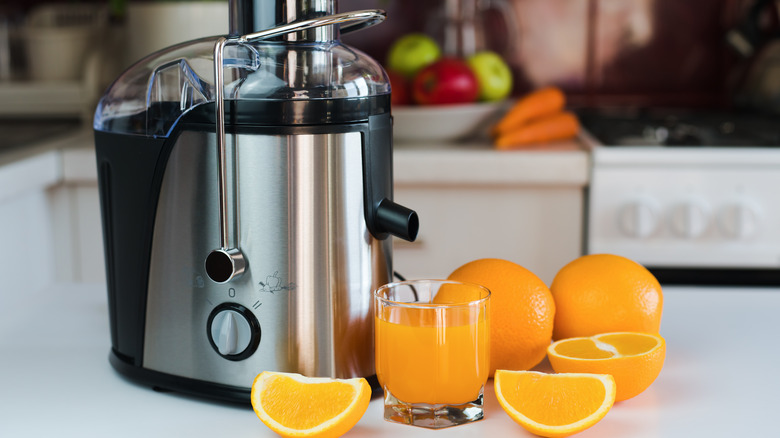
Cleaning and maintaining your juicer can be one of the more annoying parts of juicing. But cleaning immediately after using is by far one of the best habits to get into to make juicing sustainable. Trust us, juicers will only get more annoying and difficult to clean the longer you let the gunk within them sit. Plus, little bits of pulp can get stuck within the components of the juicer, and if you don’t clean it, that can mean bacteria or mold growth, two things you definitely want to avoid.
First, unplug and disassemble your juicer. You’ll want to be careful with the base of the juicer and not get it submerged in water, instead cleaning with a slightly damp cloth. For the remainder or your juicer, if needed, soak the juicer pieces for a few minutes, and then use warm, soapy water to clean. For the filter or mesh basket, try using a toothbrush to thoroughly remove all the little remnants from your fruits and veggies. Even if you opt to place removable parts in the dishwasher (you’ll want to confirm that your specific juicer is dishwasher-compatible first), you’ll still want to give it a rinse beforehand.


