Choosing the right pots and pans is an essential step in outfitting your kitchen. Whether you’re a novice cook or a chef, you should only buy utensils you’ll use, and it’s important to consider how frequently you cook and what you’re cooking. Love to whip up a stir-fry several times a week? Make sure you have a wok. A large pot is a must-have item if you like making chicken or vegetable stock.
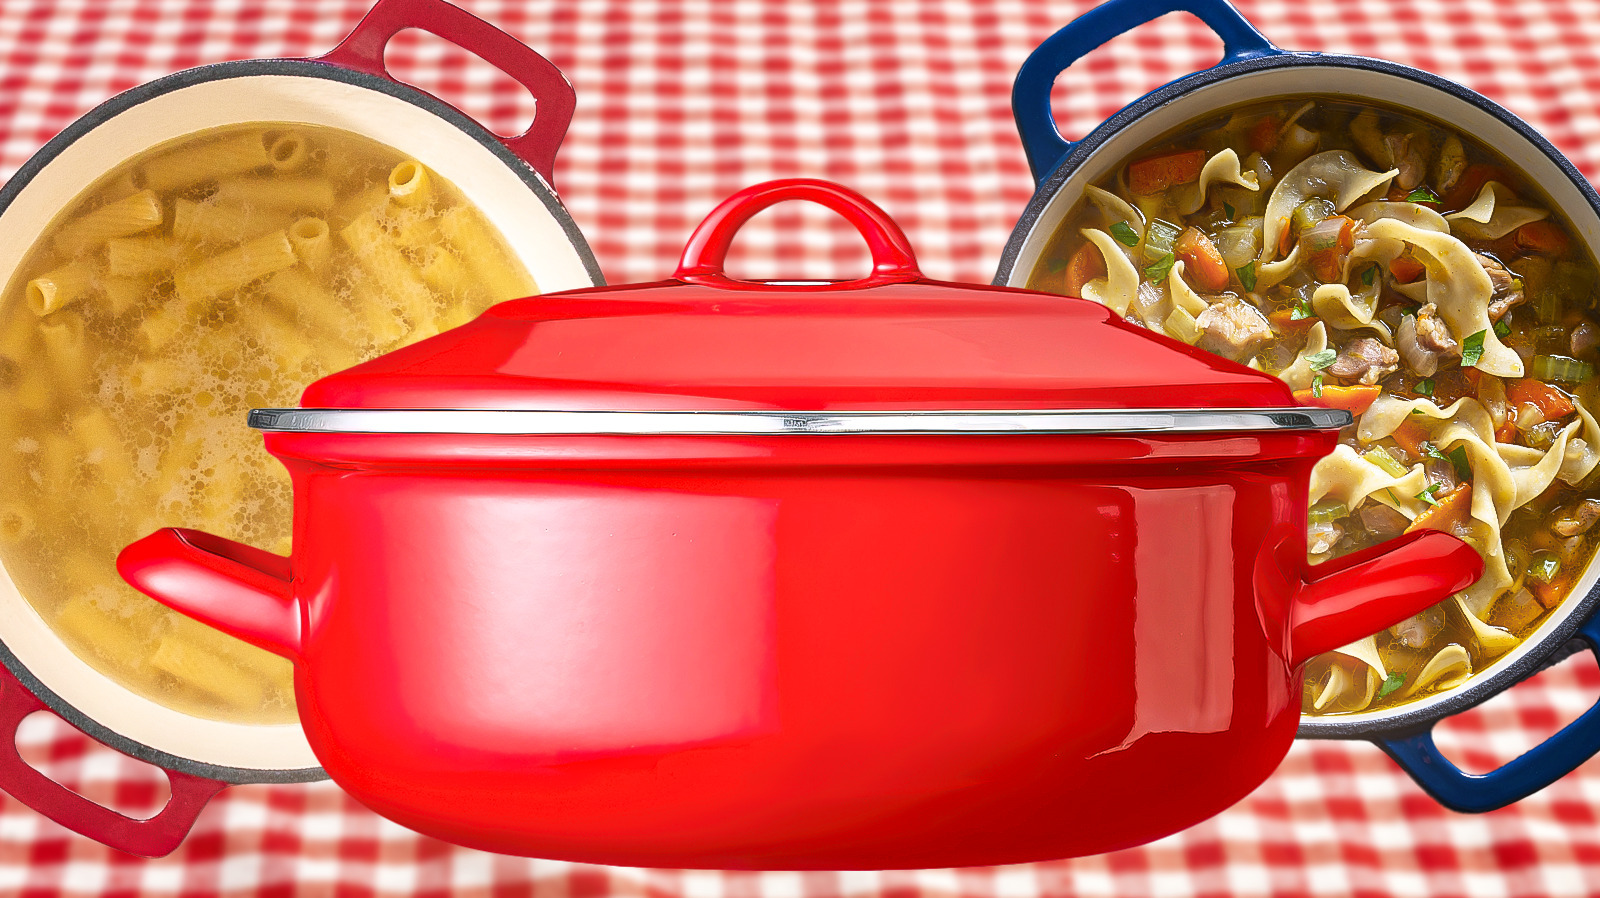
There’s a specialty utensil for just about every food you can think of, but if you’re looking for an all-purpose pot that can be used for multiple tasks, a Dutch oven is the pot for you. This is a sturdy pot with thick walls and a tight-fitting lid known for excellent heat distribution. Numerous companies manufacture Dutch ovens at different price points, but the signature round Dutch oven made by Le Creuset is what likely comes to mind when such ovens are discussed.
A well-constructed Dutch oven can serve as a workhorse in the kitchen. These tips will help you make the most of what will likely become your new favorite kitchen tool.
Season your Dutch oven before you use it
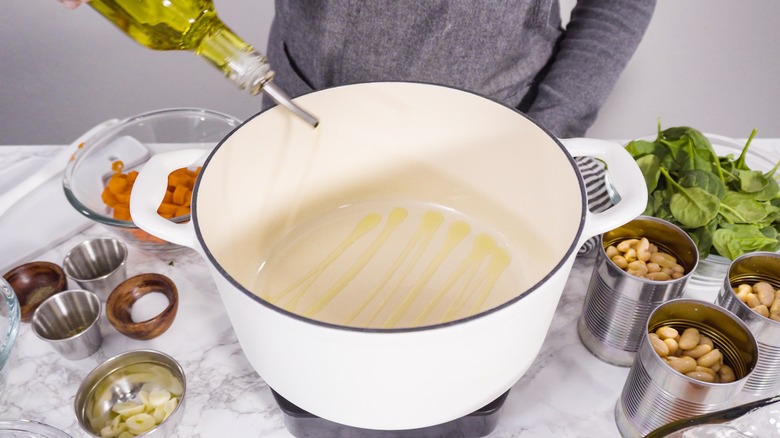
Seasoning is crucial to protecting your cast iron Dutch oven, and it’s important that you do this before you even use it. This is because Dutch ovens are typically made of cast iron, and seasoning helps to prevent the material from getting rusty and corroded. It involves heating a thin layer of oil in the pan at a high temperature which causes polymerization, a chemical reaction that turns the oil into a smooth, hard layer that protects the pan and creates a non-stick surface.
Enameled cast iron Dutch ovens are the exception to this rule. The cast iron in these Dutch ovens is coated with a thin layer of enamel, which is a solid material similar to glass. The enamel coating conducts heat well and protects the cast iron, keeping it from rusting, and also gives your Dutch oven a smooth surface to cook on. Dutch ovens with an enamel coating do not need to be seasoned. After your initial seasoning, you’ll only need to repeat the process a couple of times a year.
Opt for a 5- to 7-quart Dutch oven
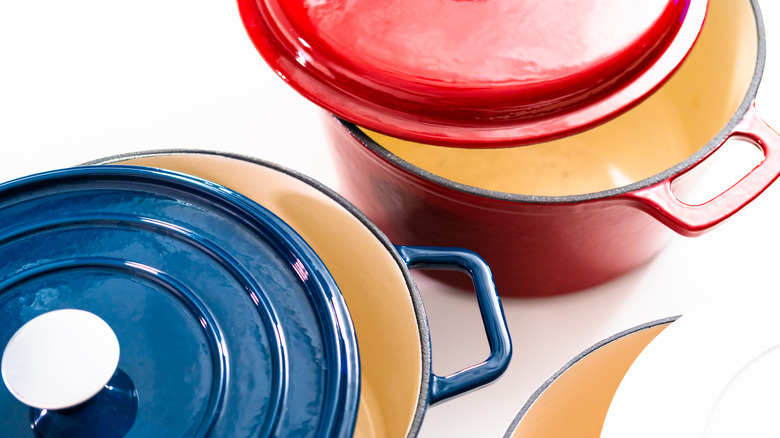
To choose the best Dutch oven for your kitchen, consider the number of people you typically cook for. A single person who hates leftovers won’t need a huge pot, but an individual who likes to cook in bulk will benefit from a larger pot. The experts at Le Creuset recommend allotting 1 quart of pot space for each person you’re cooking for (round up to make sure you have leftovers). For a family of four, a 4-quart pot will work, but a 5–quart pan or larger will give you plenty of room to cook enough for your crowd with a little wiggle room.
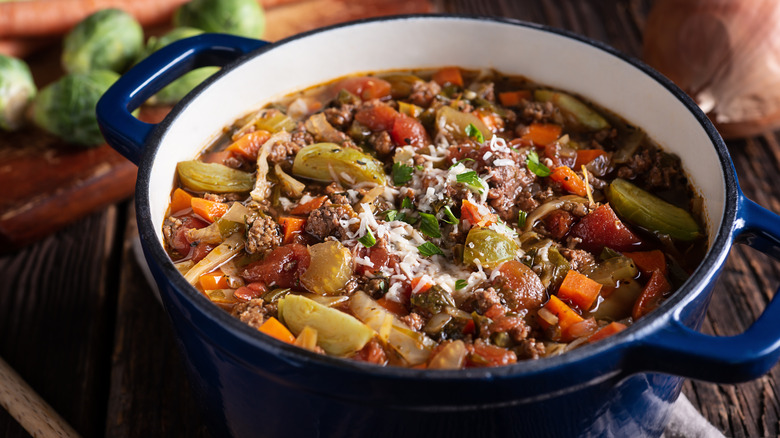
Also, consider the type of food you’ll be cooking. If you plan on using your Dutch oven to sear meats, you’ll need a pan with enough surface area to do the job. Soups and stews will require a pot with higher sides. For most home cooks, a medium Dutch oven, 5-7 quarts, is your best bet.It’s the best combination of surface area and height, and has enough volume to hold your soups, stews, and braises.
Avoid extremely high heat
Dutch ovens’ cast iron cores are built to conduct heat evenly and to hold heat well. You might be tempted to use your Dutch oven on the highest heat possible to speed up cooking, but you’ll want to avoid this if you’re using an enameled Dutch oven. While heat conduction and retention are characteristics that would be considered pros when it comes to usability, using your Dutch oven to cook food at extremely high temperatures can be problematic.
For an enamel-coated Dutch oven, cooking at extremely high temperatures can actually damage or burn the pot’s lining. Because of its ability to hold heat, you can cook most food properly with medium heat. Once the pots are hot, they stay hot. Turning up the heat too much can cause the pot to get so hot it can make your food stick to the bottom of the pot and eventually burn. Cast iron pots without an enamel coating can withstand high heat, but the food you’re cooking may not be able to, so it’s still best to proceed with caution.
Use it to deep-fry
Kyle Lee/Shutterstock
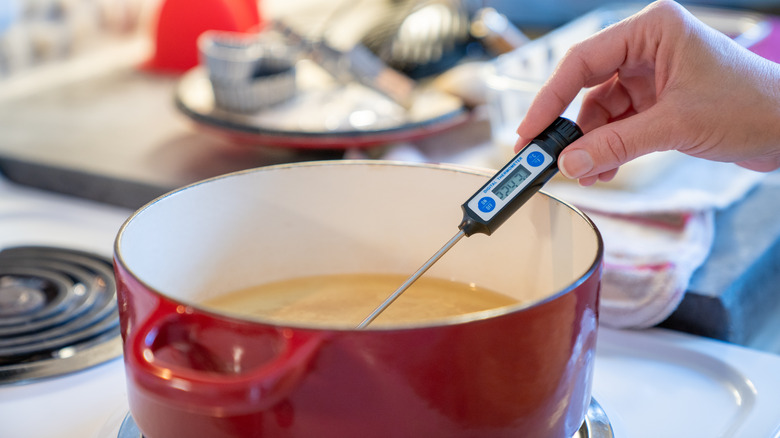
Deep frying can be intimidating, even for experienced cooks. Let’s face it, dropping food into a pot of hot oil can be scary. One tool that can make deep frying simpler and safer is your trusty Dutch oven.
Dutch ovens typically have all the qualities you need in a pot to deep fry safely. First, deep frying requires a significant amount of oil: Your Dutch oven’s high sides allow you to add enough oil to properly deep fry your foods with room to spare, and serve as a barrier from spattering. To protect yourself from getting burned by spattering oil, use tongs or a slotted spoon to carefully lower and remove food from the pot.
Your Dutch oven’s ability to retain heat makes it easier to keep your hot oil at the right temperature. Dutch ovens with an enamel coating also make it easier to monitor your food’s color changes. A pot with a dark bottom can make it difficult to see if your food’s getting too brown.
Use baking soda or kosher salt to clean your Dutch oven
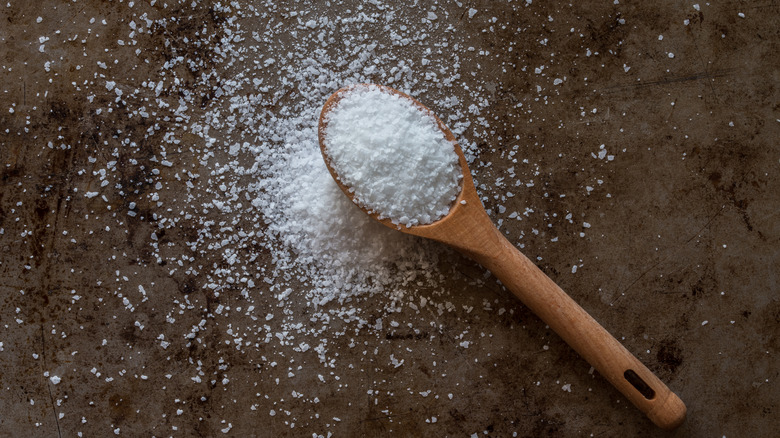
Whether it’s made of cast iron or enameled cast iron, a clean Dutch oven will last longer and perform better. Fortunately, two everyday pantry items — baking soda and kosher salt — can help you keep your Dutch oven in tip-top shape.
Baking soda and kosher salt are relatively affordable, so you don’t have to break the bank to care for your Dutch oven. They’re both abrasive enough to remove tough, cooked-on stains, but neither is tough enough to scratch or damage the surface of your pot.
To do this, you add baking soda to boiling water and let the mixture simmer for a few minutes. After that, turn off the heat, cover the pot, and let it sit for 15 minutes. For tougher stains, add just enough water to baking soda to make a paste, rub the paste directly onto the stains, and let the pot sit up overnight. Wash the pot the next day, and the stains should disappear. Use a rag to rub kosher salt onto stains for easy cleanup. You can also rub the salt in with a cast iron brush if you have one on hand.
Know when to transfer your Dutch oven from the stovetop to the oven
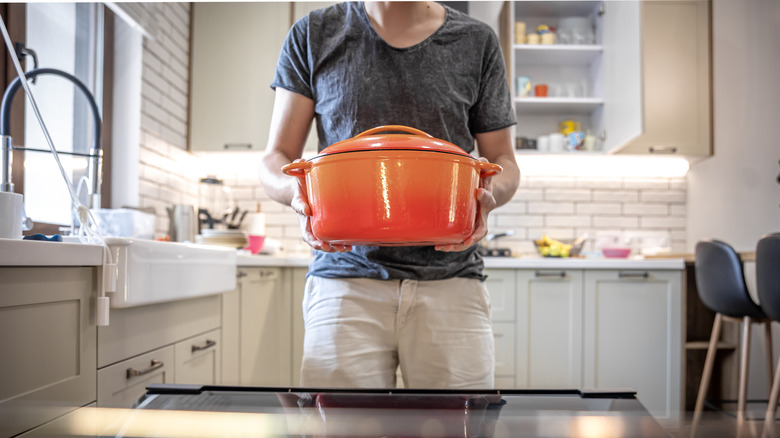
Dutch ovens can move seamlessly from the stovetop to the oven, and there are many cooking techniques that require you to start a dish on the stovetop and finish it in the oven. Braised meats, for instance, are seared on the stovetop, but sometimes other ingredients are added and the pot is transferred to the oven for further cooking. There’s one simple thing to look for that will let you know when the time is right to do this.
The best time to move your Dutch oven from the stovetop to your oven is after your liquid has been added and brought to a boil. This ensures the food and the liquid have reached the right temperature and are ready for a slow simmer in the oven. Transferring your pot to the oven clears up stovetop space, which is especially useful if you’re cooking multiple dishes and need use of all your burners. Because most ovens do a good job of maintaining an even temperature, this will only enhance the pot’s ability to hold its temperature.
Marinate meats in your Dutch oven
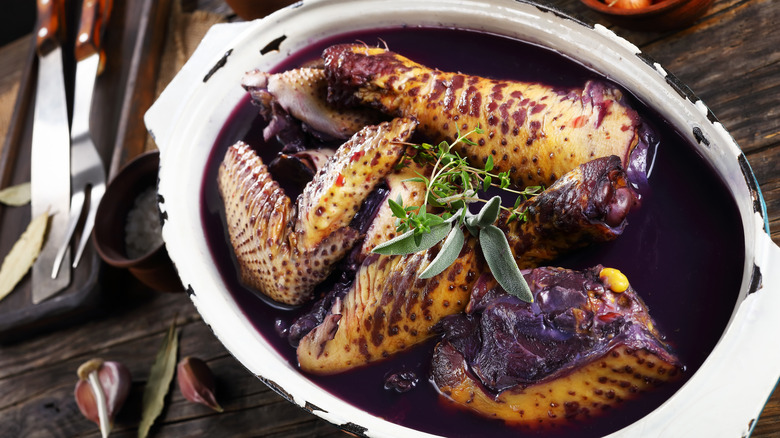
Due to its design and functionality, marinating foods in a Dutch oven is an effective technique that yields flavorful and tender results. There are several practical reasons you should marinate food in a Dutch oven; one of them is size. Most Dutch ovens are big enough to accommodate a large amount of food in addition to the marinade without the risk of spilling, so you can add enough marinade to fully submerge your food, ensuring the flavor is absorbed in every bite. This is perfect if you’re cooking for a crowd, or want to meal-prep food to enjoy later.
There are also times you shouldn’t use this technique. Enameled cast iron Dutch ovens are nonporous, which means they don’t allow any of the marinade ingredients to seep into the pot. A regular cast iron Dutch oven, without the enamel coating, however, is porous. If your marinade contains any acid, like vinegar, citrus juice, or tomatoes, you should not use a cast iron Dutch oven for marinating, because when acid meets iron, a chemical reaction can occur that may cause it to leech into your food.
Sear your meat before adding other ingredients
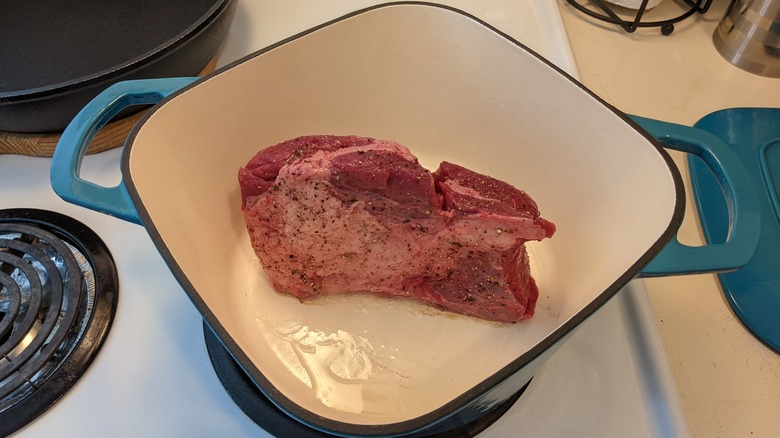
Dutch ovens are the perfect vessel for cooking foods slowly and without extremely high temperatures. While those qualities are also shared with the equally beloved slow cooker, there are significant differences between the two, especially when it comes to adding other ingredients.
Many slow cooker recipes will instruct you to dump all your ingredients in, put the lid on, and let the slow cooker work its magic. But this isn’t the best approach when using a Dutch oven because the order you add ingredients can affect your end result.
Two of the cooking techniques most commonly used in a Dutch oven, braising and stewing, typically require searing meat before adding other ingredients. If you don’t sear first, you’ll end up with steamed meat instead of meat enhanced by the flavor and color that comes with searing. Searing also allows you to gradually build flavors in your dish, as the flavor of the meat as it browns affects the ingredients that come after. Adding ingredients in stages also helps prevent them overcooking.
Avoid chipped Dutch ovens
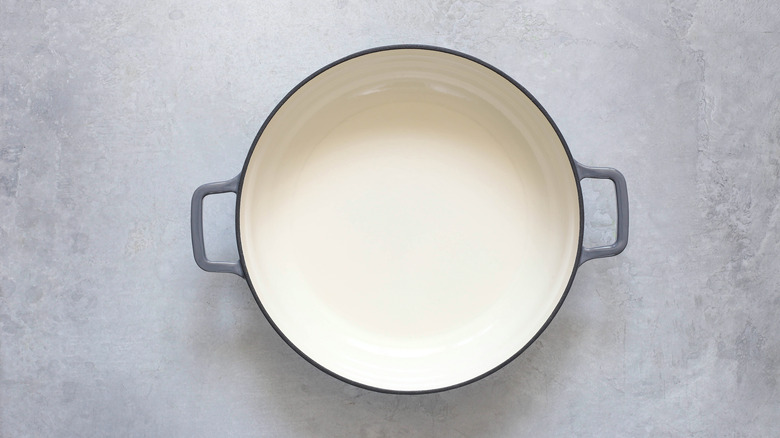
Dutch ovens are durable, but with normal wear and tear, the enamel coating on your pot may chip. Those chips will likely have you questioning whether you should use a Dutch oven with a chipped enamel surface.
For chips on the outside of the pan, it’s safe to continue using it; if the inside surface is chipped, it’s time to replace it. Minor scratches on the inside surface of your pot are normal, and it’s ok to continue cooking with them, but more extensive, deeper chips can cause problems. Le Creuset recommends getting in touch about any Dutch ovens with a chip in the enamel inside the pot.
One major problem with a chipped surface is the risk that the enamel might continue to chip away. It might even chip off in your food. Bacteria can potentially make its way underneath the chipped enamel. Rough edges around the chip can cause cuts when the pan is being handled. A small chip might not seem like a big deal, but it can turn into a larger, deeper chip, which means it’s time for a new pot.
Use your Dutch oven as a cooler
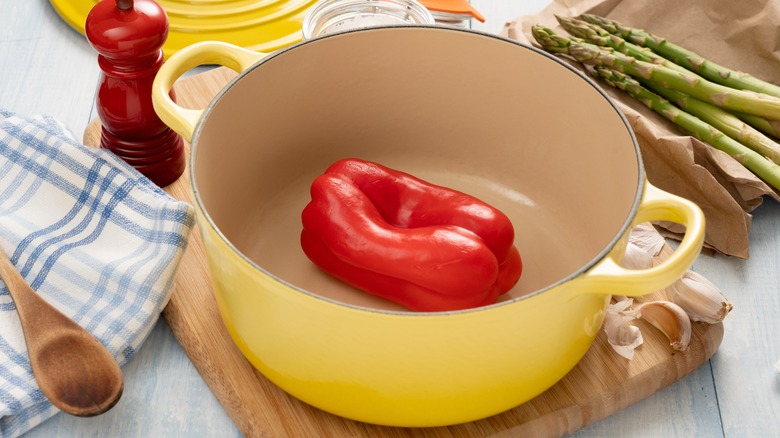
We already know that they are great at retaining heat, but you might be surprised to learn that Dutch ovens are also effective at keeping things cool. The same technology that makes Dutch ovens retain heat well is just as effective at helping them maintain cold temperatures, which can come in handy.
The first step is to cool your Dutch oven. You can fill it with ice water, and once the pot is chilled, pour the water out. Dry the inside thoroughly, and then add the cold food of your choice. Other cooling options include placing your Dutch oven in the freezer, or lining the pot with frozen gel packs or bags of ice until it’s cold.
Another way to take advantage of your Dutch oven’s cooling capabilities is to use it as an ice bucket. Fill the pot with ice and add bottles of your favorite beverages for serving. The ice will take longer to melt in the Dutch oven, and your drinks will stay cooler for longer.
Make the most of your Dutch oven’s dimpled lid
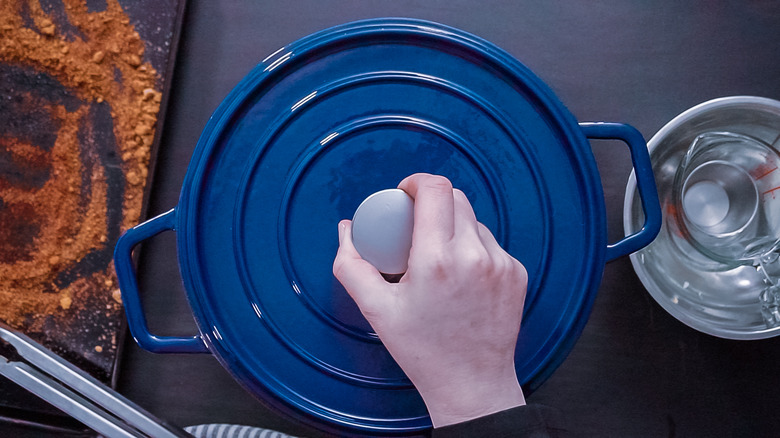
You might be surprised at how useful your Dutch oven lid can be. The lid is your Dutch oven’s secret weapon, serving multiple functions to improve the texture and taste of your food and more. Like other lids, a Dutch oven lid traps steam inside as food cooks. This steam serves multiple purposes. It helps keep food, especially meat and poultry, moist, and speeds up the cooking time, so your food cooks faster than it would without the lid in place.
Most Dutch oven lids are covered with small bumps on the inside of the lid. These bumps aren’t just for show; they are essential in creating the flavorful, tender results you’re accustomed to. When the steam in the pot hits the raised bumps inside of the lid, also known as drip points, condensation turns it into liquid. That liquid then drips back into your dish. Essentially, the dimpled lid turns your Dutch oven into an efficient self-basting machine, which results in meats that are fork-tender and moist.
Steam vegetables in your Dutch oven
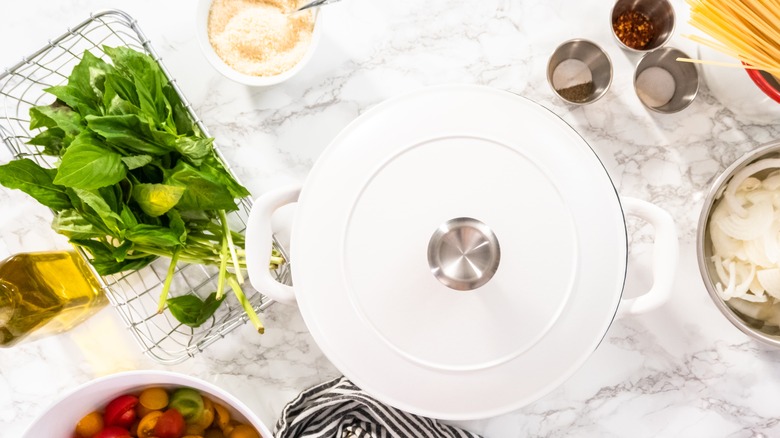
Add steaming to the list of tasks you can use your Dutch oven for. Steaming vegetables is a healthy and convenient way to enjoy fresh veggies as a side dish without much effort, and is what’s considered a moist heat method of cooking. It utilizes the steam to cook food gently.
There are numerous health benefits associated with steaming vegetables. Steamed vegetables are full of vitamins and nutrients that can be significantly reduced by other cooking methods, like boiling, where most of the veggie’s nutrients end up in the water. Steamed vegetables typically contain fewer calories as none are added during the cooking process.
Using your Dutch oven to steam vegetables is simple. First, add enough water to your pot to produce steam, but not so much that the water comes into contact with the bottom of your steaming basket. Once the water boils, add your steamer basket to the Dutch oven. Place your vegetables in the basket, put the lid on the pot, and wait for the magic to happen.
Pay close attention to extreme temperature changes
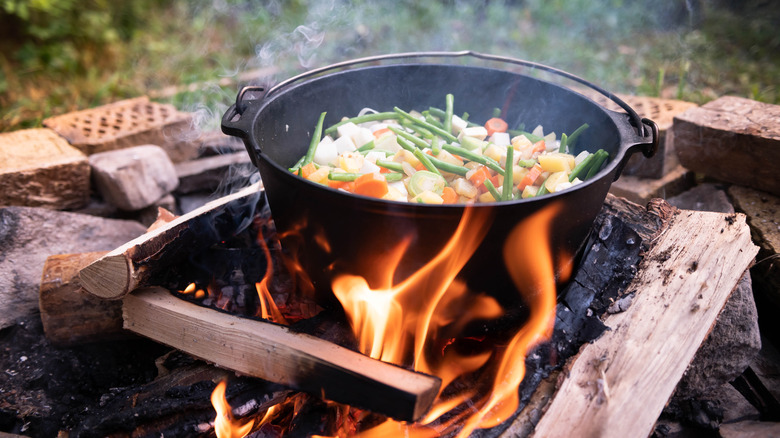
One thing you should absolutely avoid with your cast iron Dutch oven is an extreme change in temperature. Dutch ovens can easily transition from the cooktop to the oven, and those without an enamel coating can even be used over a campfire. That versatility ends with sudden and extreme temperature changes, so if you’re tempted to cool off a hot Dutch oven by filling it or submerging it in cold water, don’t do it! This is just one way to cause thermal shock, which can damage and potentially ruin your Dutch oven.
Thermal shock is a reaction caused when certain materials, like cast iron, are exposed to sudden temperature changes. When cast iron changes temperature, it expands when heated and contracts when cooled. If this happens too quickly or unevenly, it can cause the cast iron to fracture or shatter. Cast iron Dutch ovens with or without an enamel coating are susceptible to thermal shock. You can avoid thermal shock and potentially ruining your Dutch oven by allowing your pot to cool and heat up slowly.
Choose wooden or silicon utensils in your Dutch oven
![]()
As previously mentioned, an easy way to care for your Dutch oven is to protect its coating. This might seem obvious for pans coated with enamel, but even Dutch ovens without that coating need to be taken care of. Avoiding using sharp or metal utensils in your Dutch oven is a simple way to maintain its longevity.
Use softer, less abrasive utensils, like silicon or high-heat plastic, to stir, flip, or whisk food in your Dutch oven. Sharp utensils, like knives or forks, can also be problematic in a Dutch oven. They make it easy to damage the surface of your pot by scraping bits of the enamel lining off.
When you use metal utensils in cast iron Dutch ovens without enamel, you risk scraping away sections of the pot’s seasoning layer. That layer can be easily restored by cooking in the pot, but it’s better to be safe and use utensils that won’t damage it in the first place. If you do use metal utensils, use them gently, being careful not to apply enough pressure to scratch or damage the pot’s surface.
Use the stovetop, not the microwave to warm food in a Dutch oven
Pixel-Shot/Shutterstock
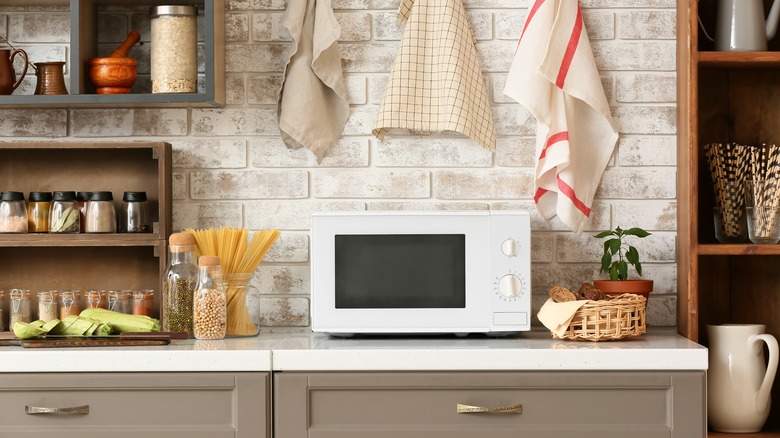
Conventional cooking methods like stovetop cooking, braising or roasting in the oven, or even outdoor grilling are all acceptable ways to use a Dutch oven. However, there’s one common household convenience appliance that a Dutch oven should never be used in: the microwave.
Using the microwave is a fast and easy way to heat food quickly, but don’t be tempted to use the appliance to warm up leftovers stored in your Dutch oven. Dutch ovens are made of metal, and microwaves heat metal so quickly that it may damage the pot or even catch fire.
Fire hazard aside, placing your Dutch oven in the microwave won’t work. Metal reflects the microwaves that heat food up, so the metal that makes up the pot prevents them from actually coming into contact with the food.


